Print PDF
With PDFgear, you can easily print your PDF files on iOS devices. Follow the step-by-step guide below to adjust print settings such as paper size, layout, and borders before printing.
- Tap the “+” button to import the PDF you want to print, then open the file in PDFgear.
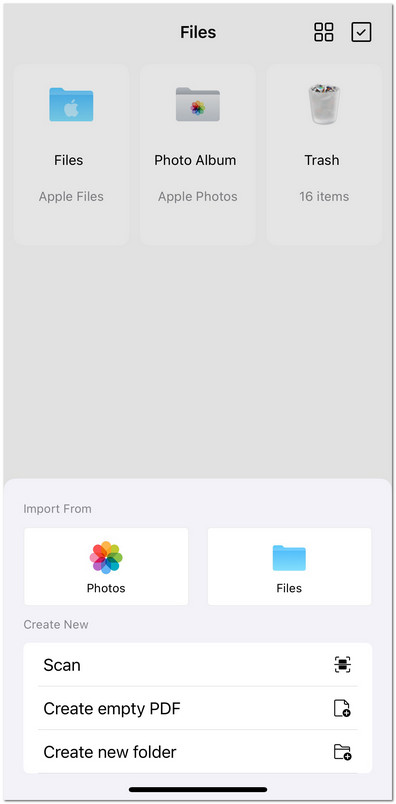
Import File to PDFgear for iOS
- In the view mode, tap the three-dot menu at the top-right corner. From the dropdown options, select Print.
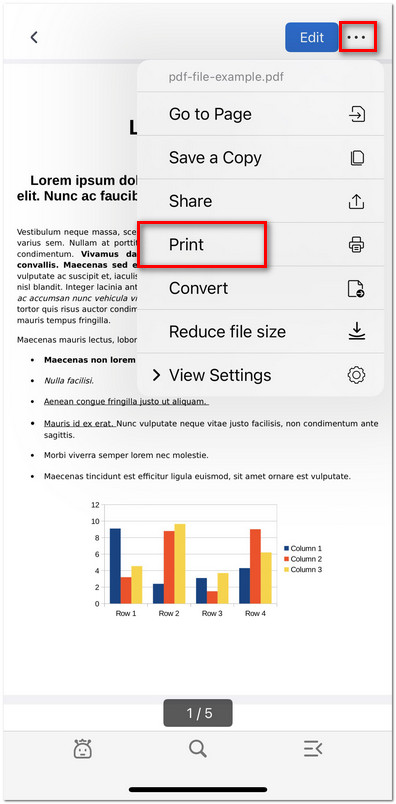
Open the Printer Menu in PDFgear for iOS
- Now you’ll see the print options screen, where you can customize the following:
Printer: Select an available printer.
Copies: Choose how many copies to print.
Range: Customize the page range for printing.
Paper Size: Tap to pick from options such as A3, A4, Letter, Legal, etc.
Print PDF Annotations: Toggle on/off to include or exclude annotations.
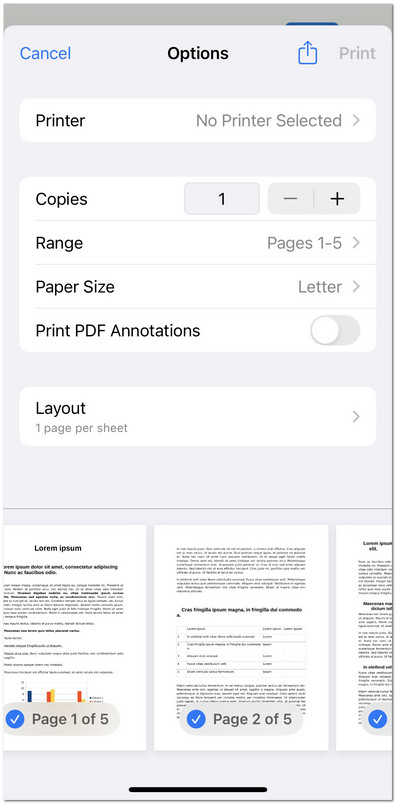
Customize the Print Settings in PDFgear for iOS
- Tap Layout to adjust further how the PDF prints:
Pages per Sheet: Print multiple pages on a single sheet (options include 1, 2, 4, 6, 9, or 16).
Border: Border: Add a border around each page. You can choose Single or Double Hairline, Single or Double Thin Line, or None.
Flip Horizontally: Enable if you need a mirrored printout.
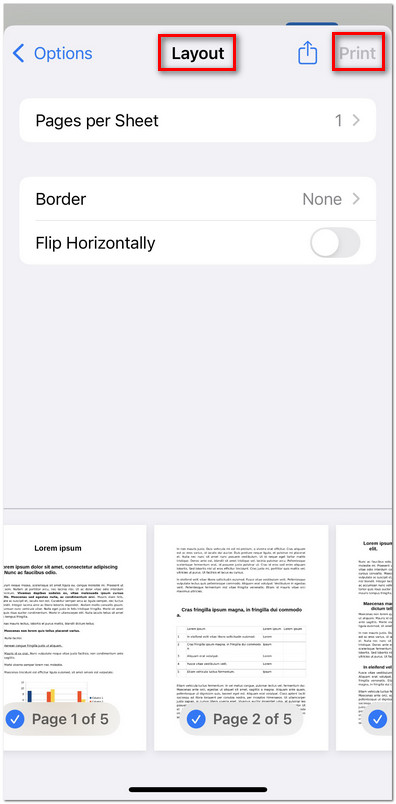
Adjust the Page Layout to Print
- Once you’ve set everything, tap Print in the top-right corner to send the file to your selected printer.