Add Page Number
Page numbers make your PDF easier to navigate and reference. With PDFgear, you can easily add, edit, or delete page numbers as needed.
Insert Page Number
- Open your PDF in PDFgear.
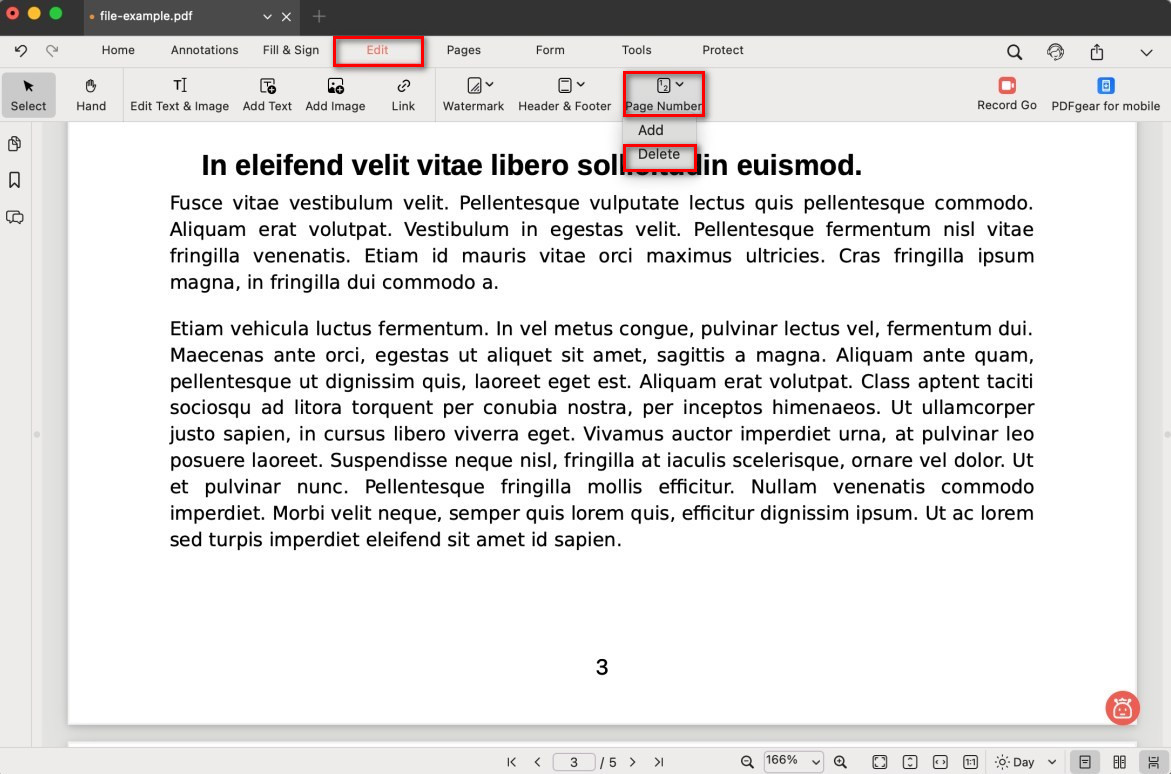
- Go to the Edit tab in the top toolbar.
- Click the drop-down arrow next to Page Number, then select Add.
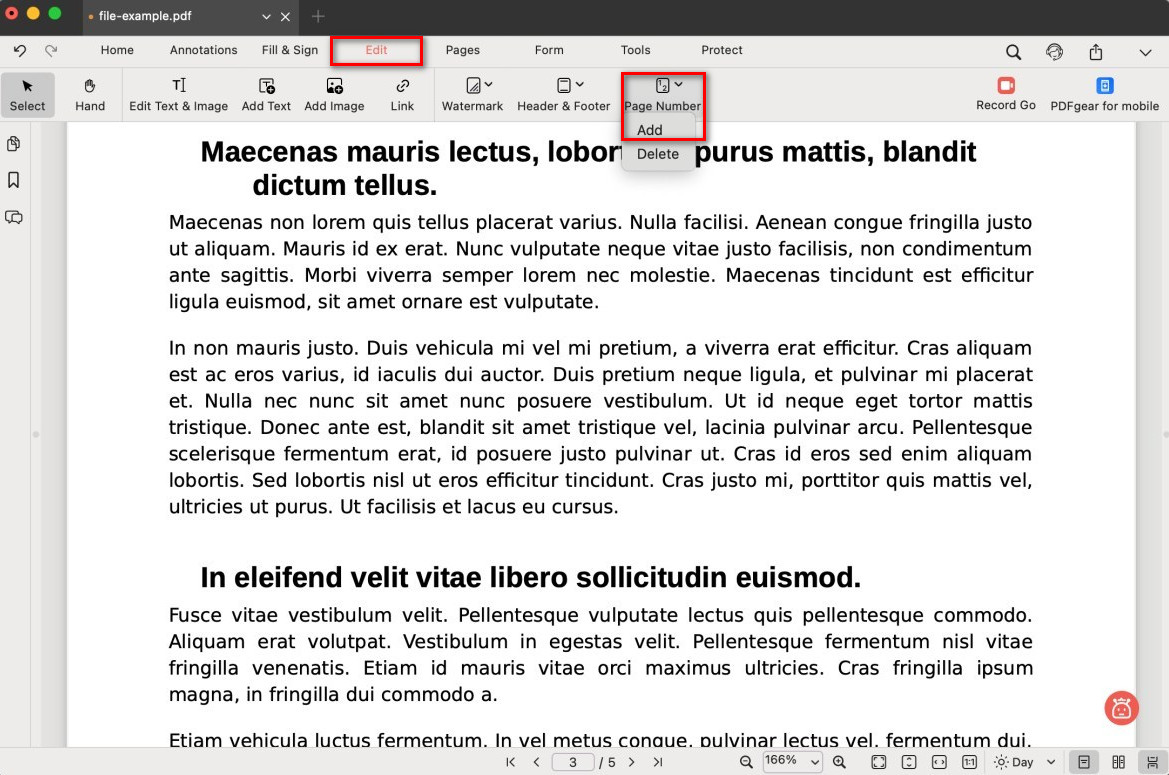
Select Add Page Number
- In the pop-up settings window, customize your page numbers:
Style: Choose formats like 1, 2, 3…, 1/X, or Page 1, 2, 3.
Start Page Number: Pick the first number (e.g., start from page 3 as “1”).
Font: Set font style, size, and color.
Position: Place numbers in the header or footer.
Alignment: Align left, center, or right.
Range: Apply to all pages, only the current page, or selected pages.
Subset: Apply to all, odd, or even pages.
Margin: Adjust spacing from the page edges.
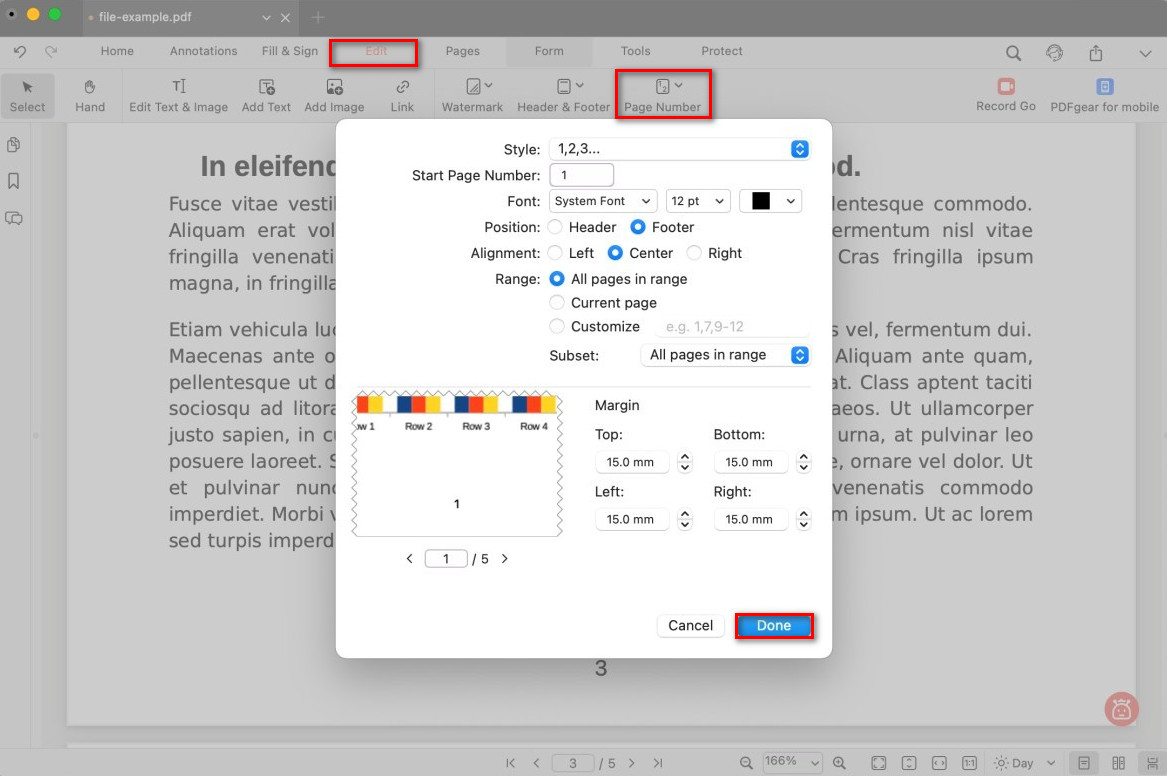
Customize the Page Number
- Click Done to apply. If it doesn’t look right, you can delete and re-add them.
Edit Page Number
If you want to make changes after adding page numbers:
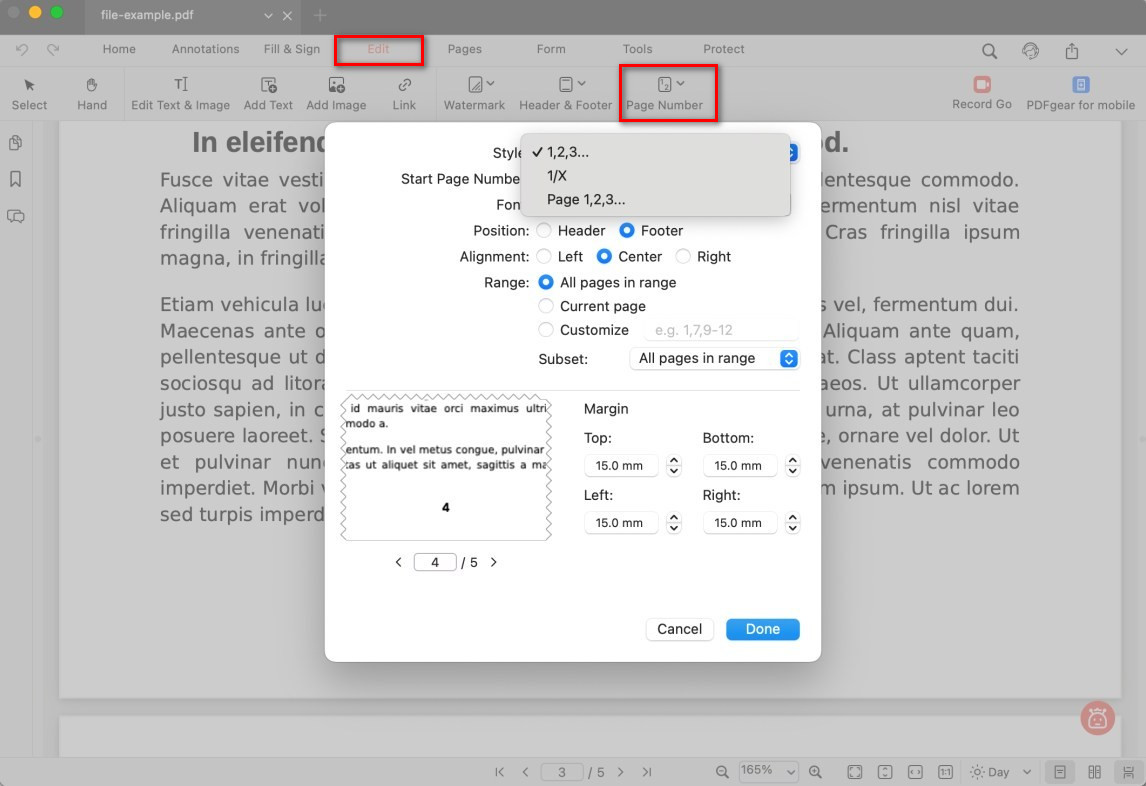
Edit Page Number in PDF
- Go back to the Edit tab.
- Select Page Number > Add again.
- Adjust the settings (style, position, alignment, range, etc.).
- Click Done to save the changes.
You can also use the text editing tool to make quick changes to page numbers directly.
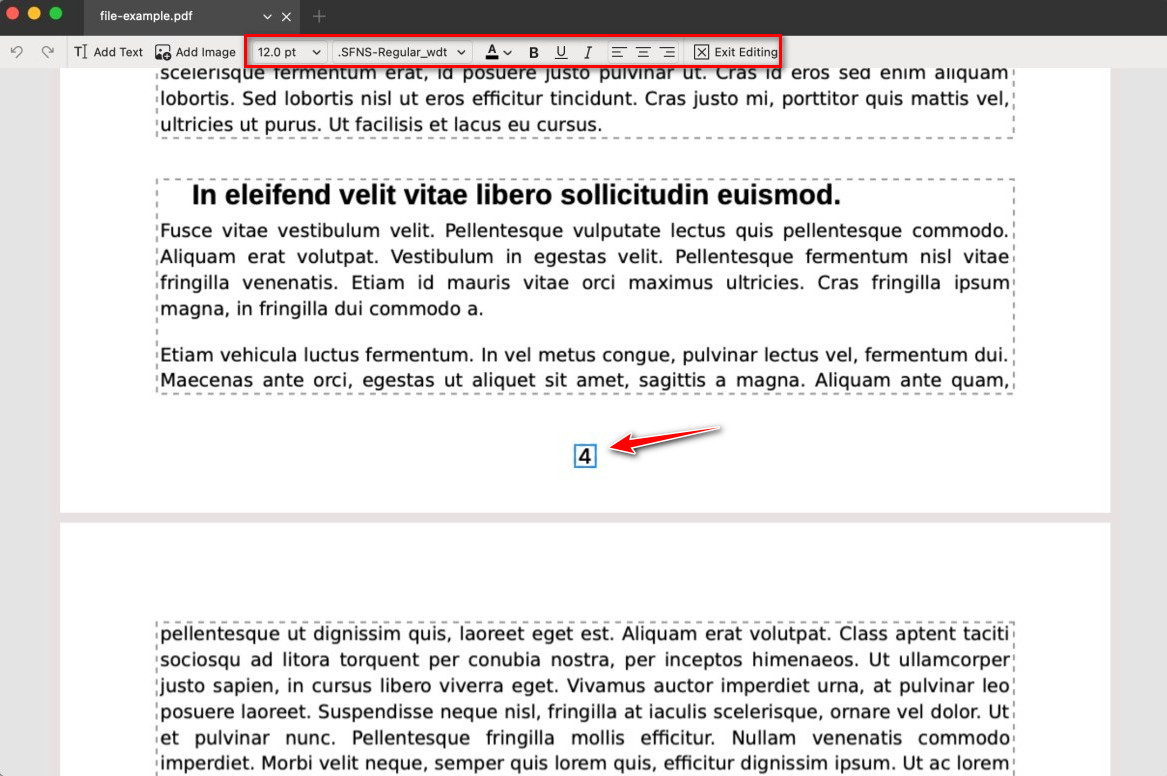
Edit the Page Number in PDF
Delete Page Number
To remove page numbers completely:
- Go to the Edit tab.
- Click Page Number>Delete.
Delete the Page Number in PDF
- All page numbers will be removed instantly.