Add Stamp to PDF
PDFgear for Mac gives you two ways to stamp a PDF: use ready-made designs or create your own with text or images. Stamps make it easy to label and track a document’s status.
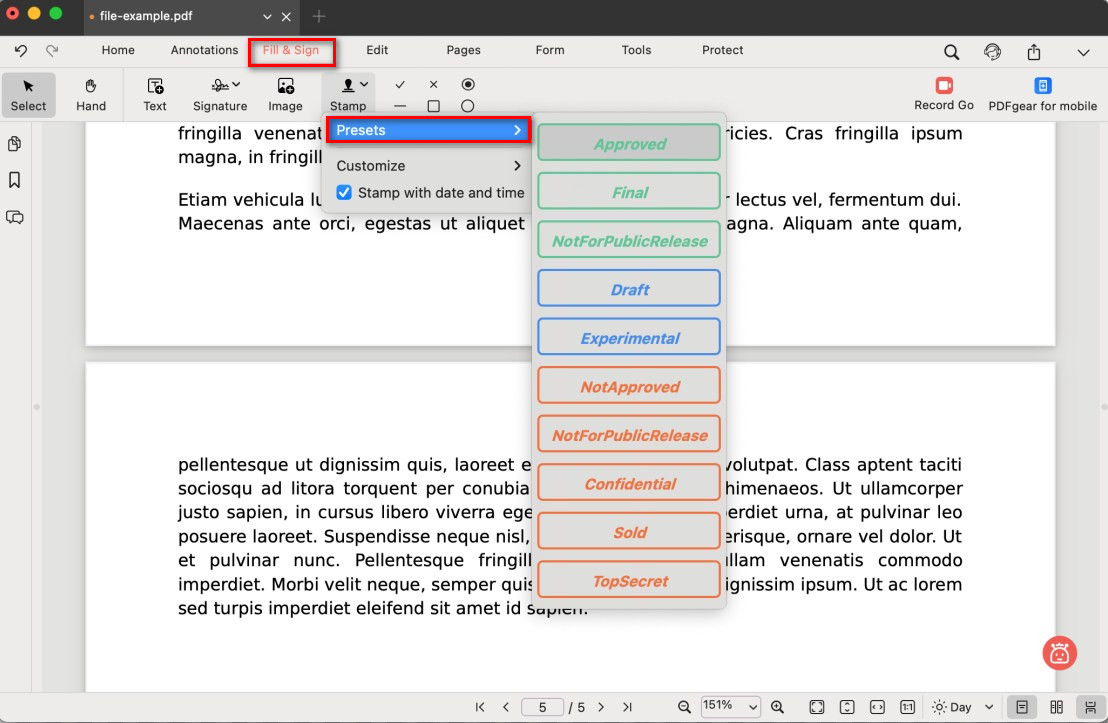
Add a Preset Stamp
- In the top menu bar, click Fill & Sign.
- From the toolbar, click the Stamp icon.
Choose One Preset Stamp
- Hover over Presets and choose from options like Approved, Draft, Confidential, and more.
- (Optional) Check Stamp with date and time to include the current date and time.
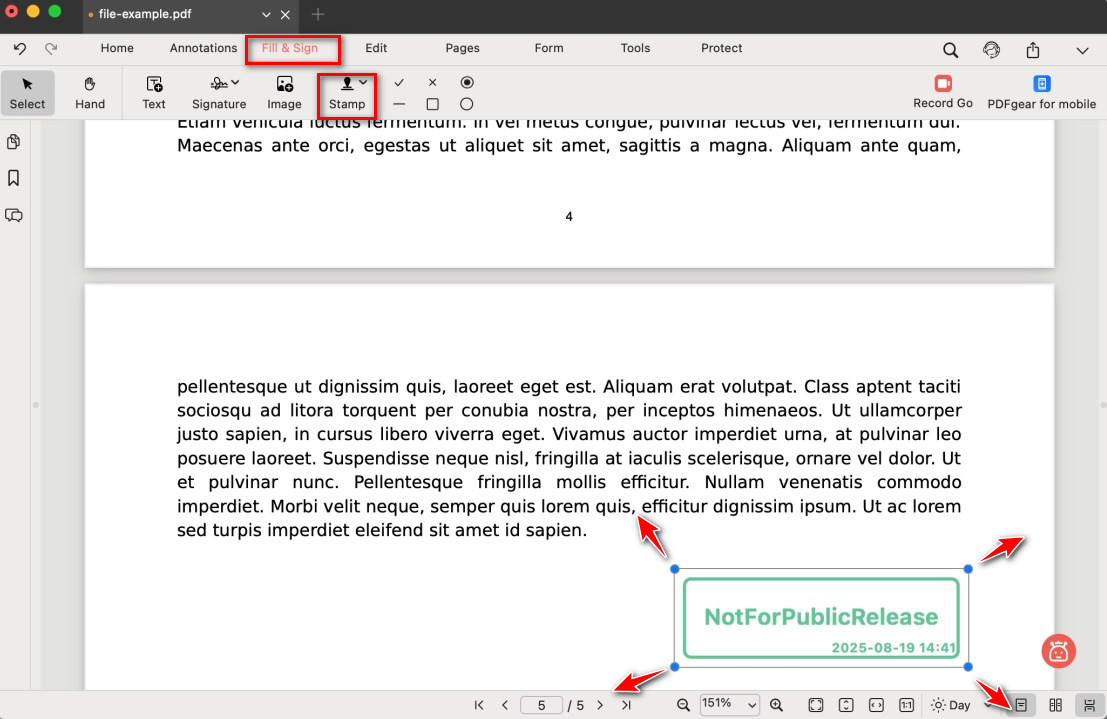
Place the Preset Stamp on PDF
- Click anywhere on the page to insert the stamp. Drag to move or resize it.
Add a Customized Stamp
- Go to Fill & Sign in the top menu bar.
- Click the Stamp icon and choose Customize > Add.
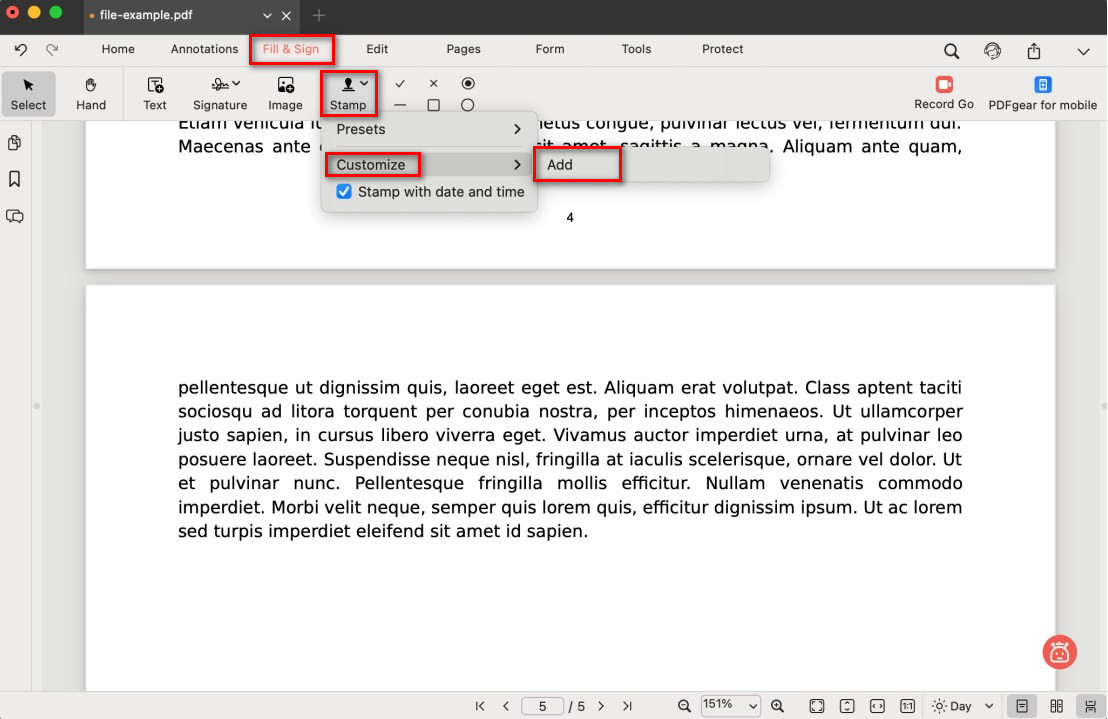
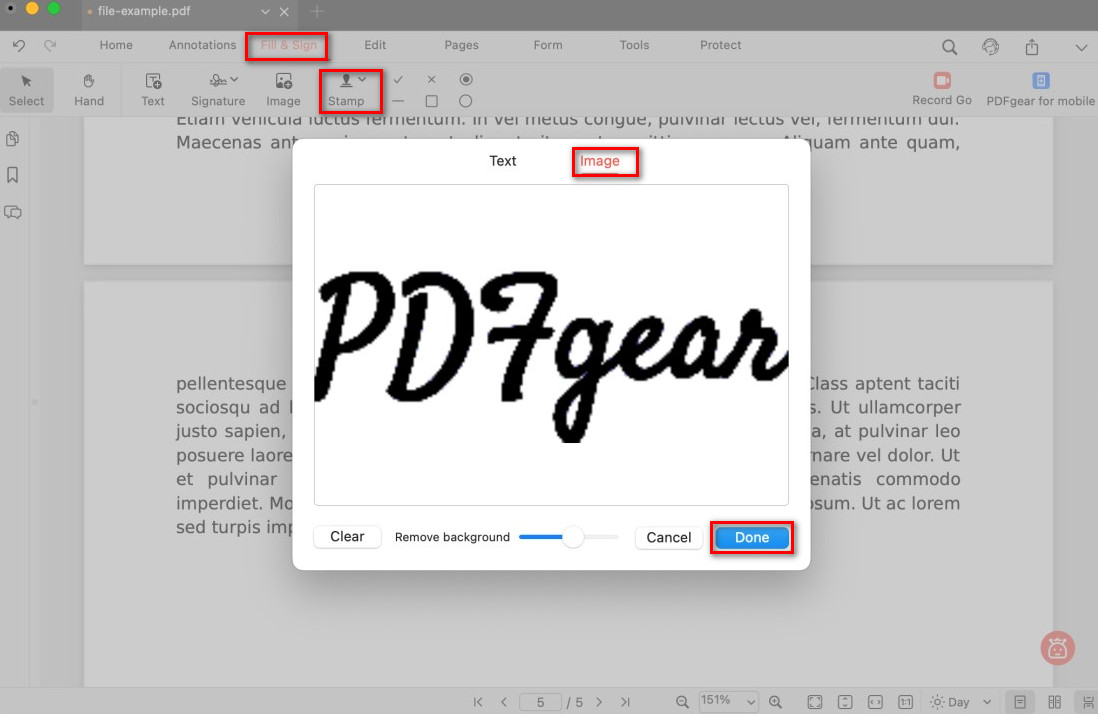
Choose to Customize a Stamp
- A pop-up will appear with two choices:
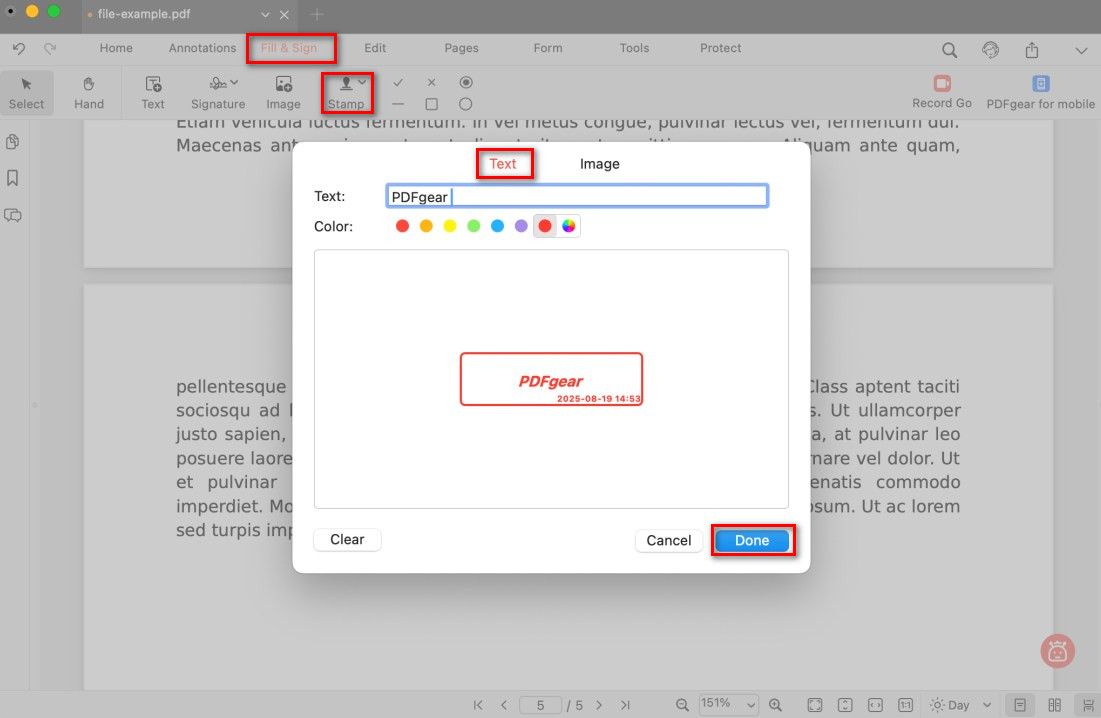
Add a Text Stamp
Text: Type your wording in the text field and pick a color.
Image: Upload an image from your computer and use the background removal tool if needed.
Add an Image Stamp
- (Optional) Check Stamp with date and time to add the current date and time.
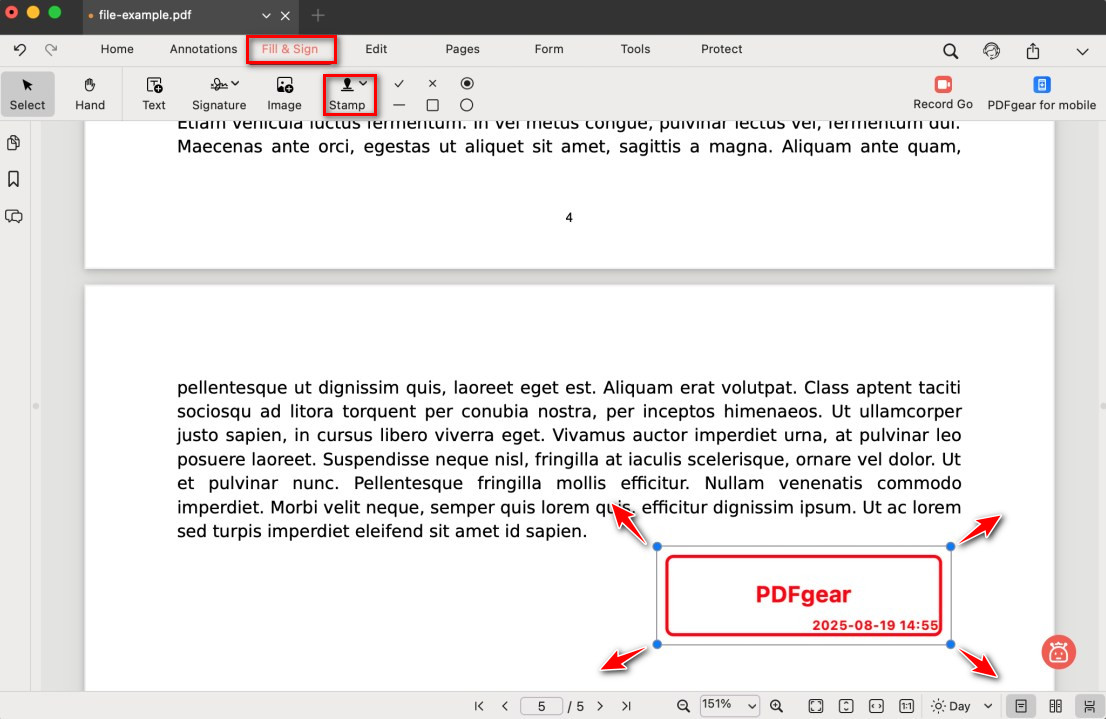
Adjusting the Custom Stamp
- Click Done, then place your custom stamp anywhere on the PDF.