Add Watermark
A watermark can show ownership, confidentiality, or branding in your PDF. With PDFgear, you can add text or image watermarks and customize their look.
- Launch PDFgear and open the PDF file you want to edit. Click the Edit tab in the top menu.
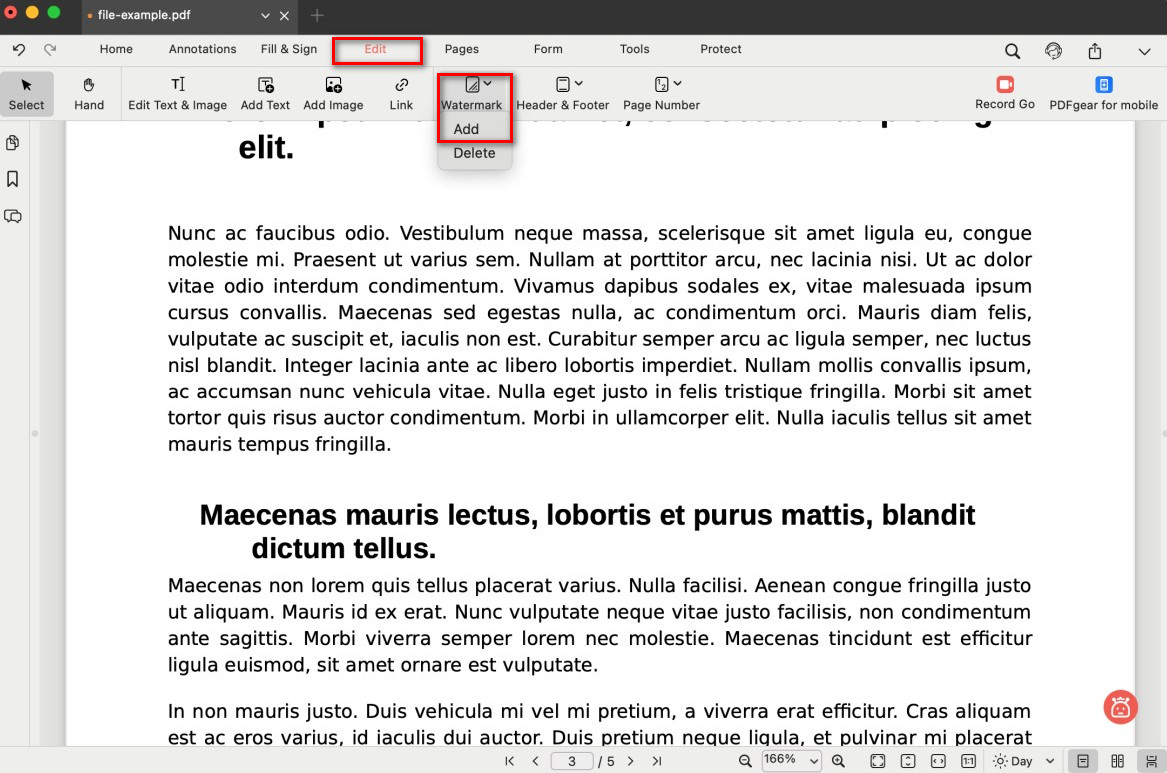
Select the Add Watermark option
- Click the Watermark button and choose Add from the dropdown menu. In the pop-up settings window, you can configure your watermark:
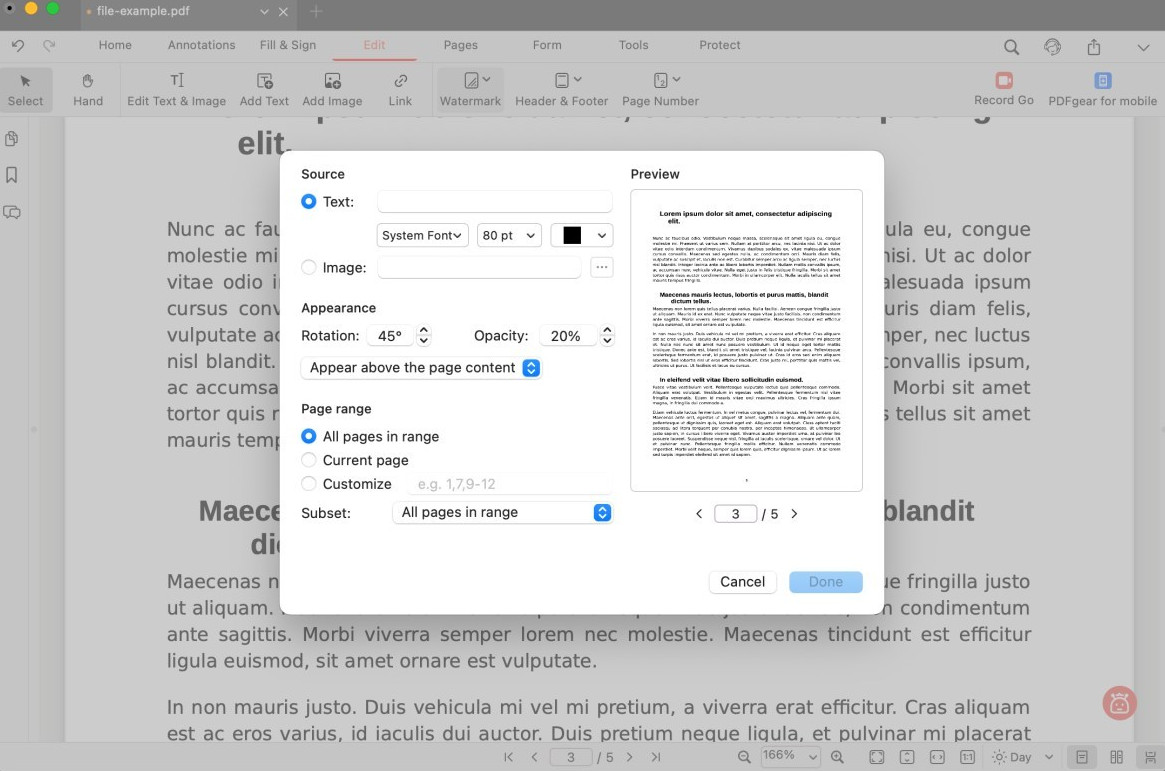
Configure the Watermark
Source
Text: Type custom text (e.g., Confidential, Draft) and set font, size, and color.
Image: Upload a logo or other image to use as the watermark.
Appearance
Rotation: Adjust the angle of the watermark (e.g., 45°).
Opacity: Control transparency so the watermark doesn’t cover the content.
Position: Choose whether the watermark appears above or behind the page content.
Page Range
All pages: Apply the watermark to the entire PDF.
Current page: Add the watermark only to the page you’re viewing.
Customize: Enter specific page numbers (e.g., 1, 3, 5–7).
- The Preview panel on the right shows how the watermark will look before you apply it.
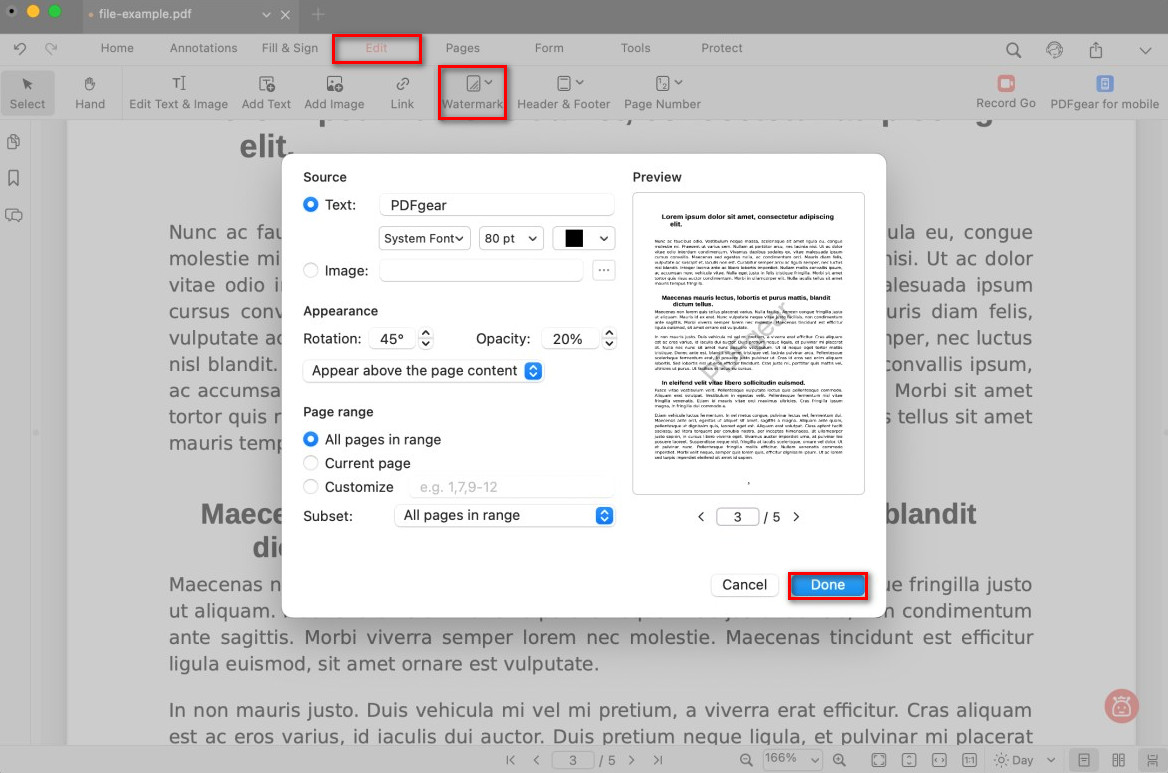
Add and Preview the Watermark
- When finished, click Done. The watermark will be added to your selected pages.
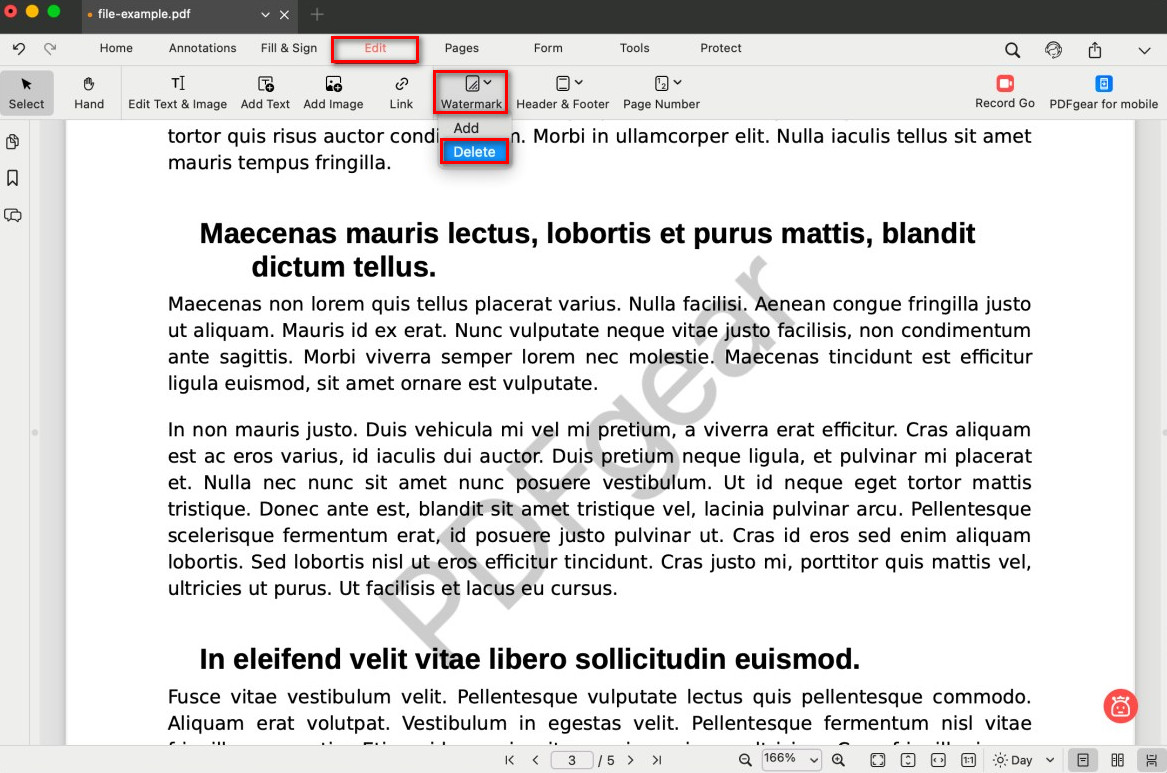
Delete All Watermarks
- If you’re not satisfied with the result, go back to Watermark > Delete to remove the one you just added, and then add a new one.
💡 Note: For copyright protection, PDFgear does not let you remove watermarks already embedded in the original file.