How to Make Labels in Google Docs Using Two Easy Methods

Summary :
This post will show detailed methods for making labels in Google Docs, including using built-in tables directly and practical add-ons.
Content Table
How to Make Labels in Google Docs
In our daily life, a majority of people need to classify and identify different items ranging from envelopes, food, and boxes to products. To make these items well organized, labels can be our best helper. You can resort to Google Docs for making and printing labels. In this article, we will introduce you to two methods and step-to-step guides for creating labels in Google Docs. To be specific, you can directly use tables and fill each cell in with your desired labels. Alternatively, you can try some popular Google Docs add-ons such as Create & Print Labels by Labelmaker or Foxy Labels.
How to Make Labels in Google Docs Using Tables
Google Docs is an online Word processor which allows people to create, collaborate on and edit online documents in real-time. It does not possess a dedicated label-making feature, but you can create labels with the help of tables. This built-in method is convenient and easy to grasp. You can insert a table to cover your document page and add contents into each cell for making labels. Here are some simple steps to make labels using tables in Google Docs you can refer to.
Step 1. Open a new Google Docs document
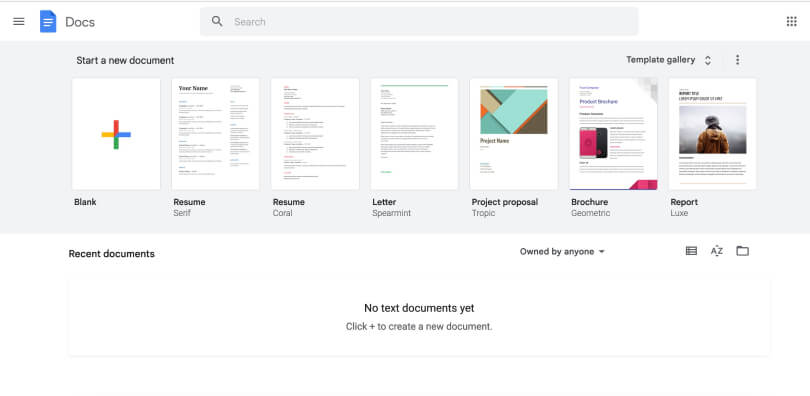
Open a Google Docs Document
Step 2. Click on the Insert menu and choose Table. Then, you can decide how many rows and columns that you want to create for your table.
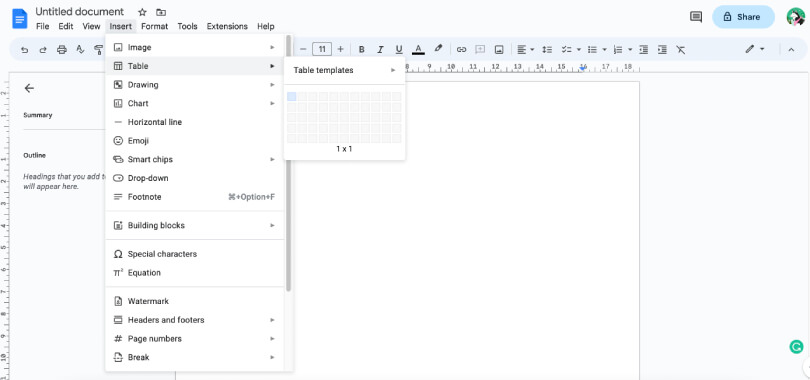
Insert the Desired Table
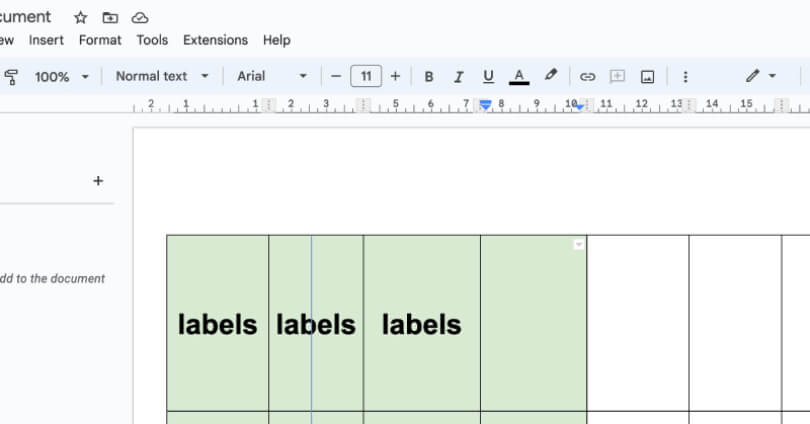
Step 3. Next, your desired table will appear and you can type the text or add images and shapes for your labels on each table cell. Tap the Table options, more settings are available. For example, you can customize the background color.
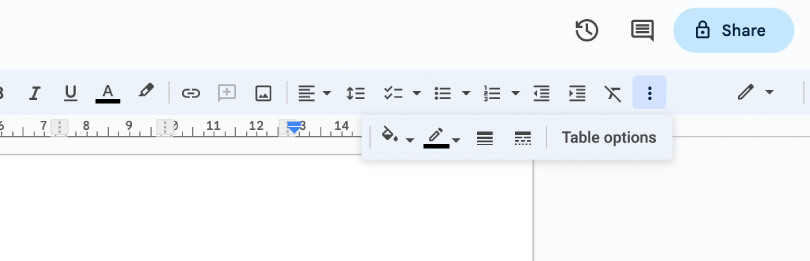
Check More Table Options
Step 4. Besides, if you want to adjust the size of the table, just drag the handles on the edges and corners. After finishing your preferred labels, you can print the document for later use.
Adjust the Table Size
⭐ You May Also Like
✔ The 7 Best AI Summarizers to Improve Efficiency
✔ The 21 Best Typewriter Fonts on Google Docs
Make Labels in Google Docs Using Labels Add-ons
Apart from using tables to make simple labels quickly, some label add-ons are good workarounds for making diversified labels for different purposes, such as mailing, shipping, production, and identification. There are a range of add-ons on the market. We will introduce two highly-rated add-ons, namely Labelmaker and Foxy Labels.
How to Make Labels in Google Docs with Labelmaker
Labelmaker is a brilliant application for making labels with Google Suites. It does best in creating high-quality mail merge labels. Boasting over 5000 label templates, users, especially computer newbies can customize their labels more easily. To live up to users’ experience, it offers a seven-day free trial. But if you want to explore all features to create unlimited labels, you should pay for it. A yearly license costs $29.99 per year while lifetime access costs $79.99 once. Let’s see how to create and print a full sheet of labels in Google Docs via Labelmaker.
Step 1. Open a browser to find the Labelmaker and install it.
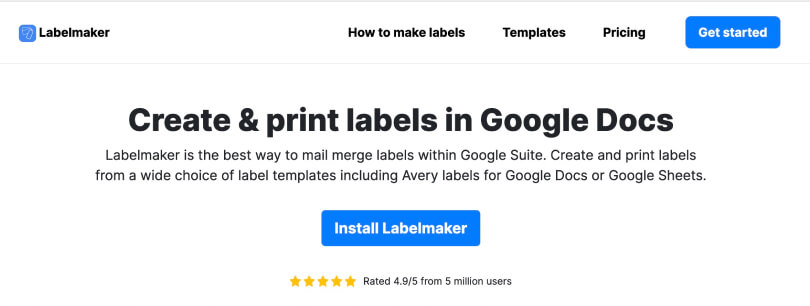
Install Labelmaker
Step 2. Open a new Google Docs document. Launch the Labelmaker by clicking on the Add-ons tab and choose Create & Print Labels to design your labels.
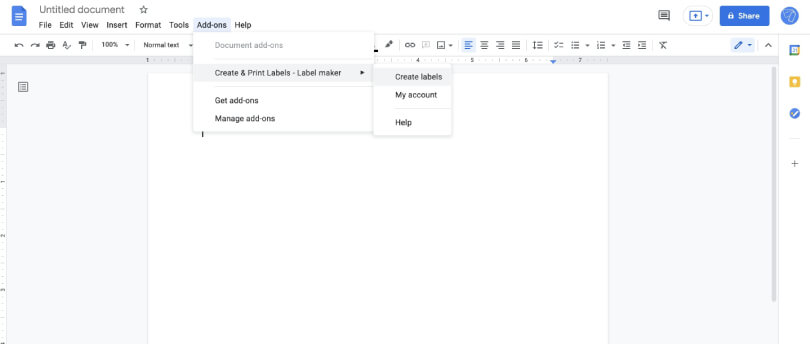
Click Add-on to Launch Labelmaker
Step 3. Tap Select a template in the Labelmaker sidebar to choose a suitable template. There are diversified templates, including some common ones like Avery® US Letter, Avery® A4, and Herma.
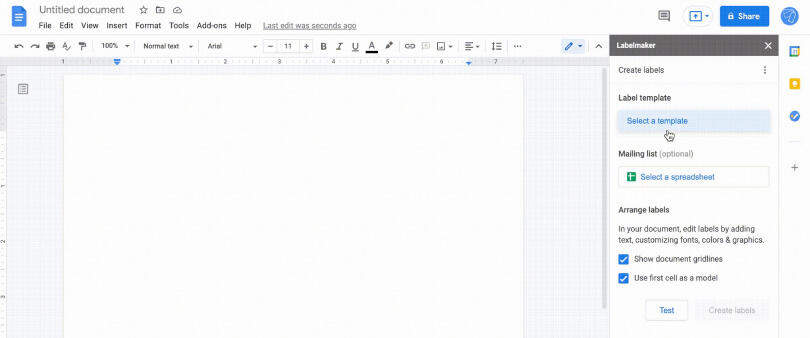
Select a Template in Labelmaker
Step 4. After confirming the template, you can edit the document by adding text or formatting in the first cell. Then, you can press the Create Labels button to make a full sheet of labels replicating the first cell. If you don’t want to replicate the first cell, please deselect the Use first cell as a model box.
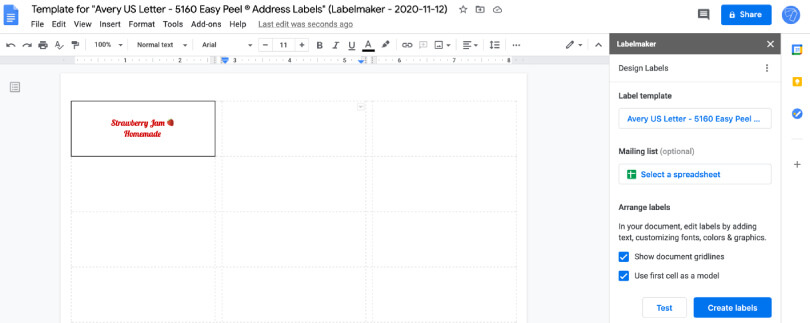
Edit and Create Labels via Labelmaker
Step 5. When your labels are ready, you can click on Open document to preview your labels.
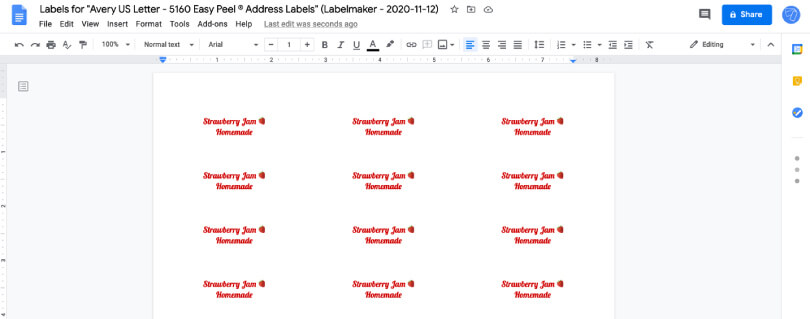
Open the Document to Preview Labels
Step 6. Once you are satisfied with it, tap File > Print. Remember to set the margin to none and the scale to 100%. You may also need to adjust the page size according to your selected template.
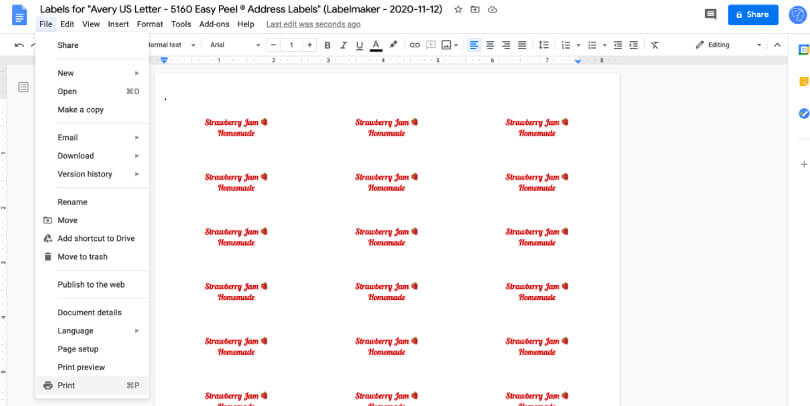
Print Labels Created through Labelmaker
How to Make Labels in Google Docs with Foxy Labels
Foxy Labels is also a superior label add-on, which allows you to create and print impressive labels within Goggle Docs and Google Sheets. Similar with Labelmaker, it also provides popular templates and customizable options. With this tool, you can design your labels separately for special occasions and print them in bulk easily. As for the price, it is slightly more expensive than Labelmaker.
Annual access costs $39 per year and lifetime access costs $99 once. If you want to have a try, you can check the following step-to-step guide to using Foxy Labels.
Step 1. Open a browser to find Foxy Labels and install it.
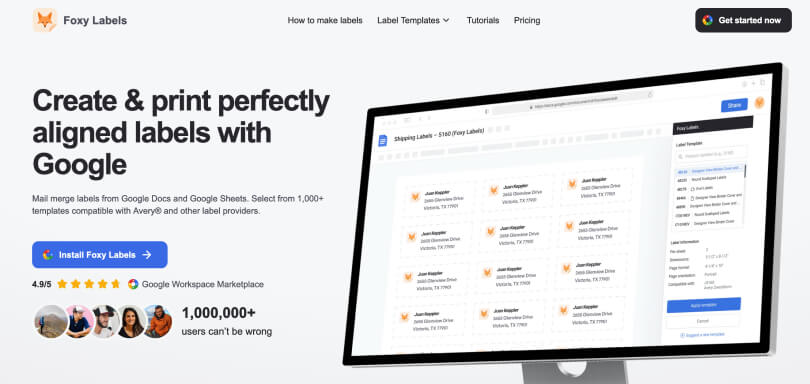
Install Foxy Labels
Step 2. Open a new Google Docs document. Tap the Add-ons tab and launch the Foxy Labels. Then, click Create & Print Labels to design your labels.
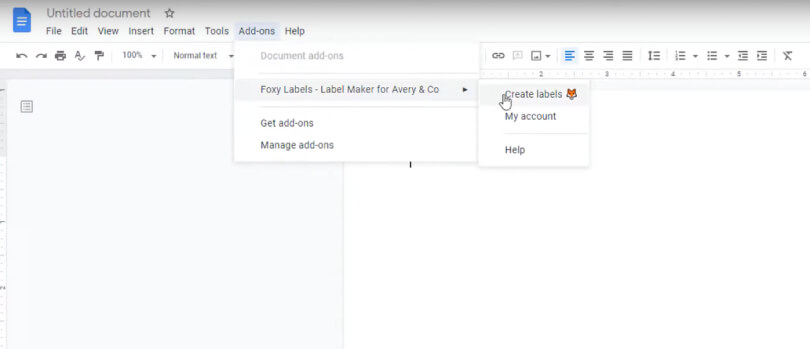
Click Add-on to Launch Foxy Labels
Step 3. In the sidebar, you can press the Label Template button and a dialogue window with selectable templates will appear. After selecting a suitable one, just click the Apply template.
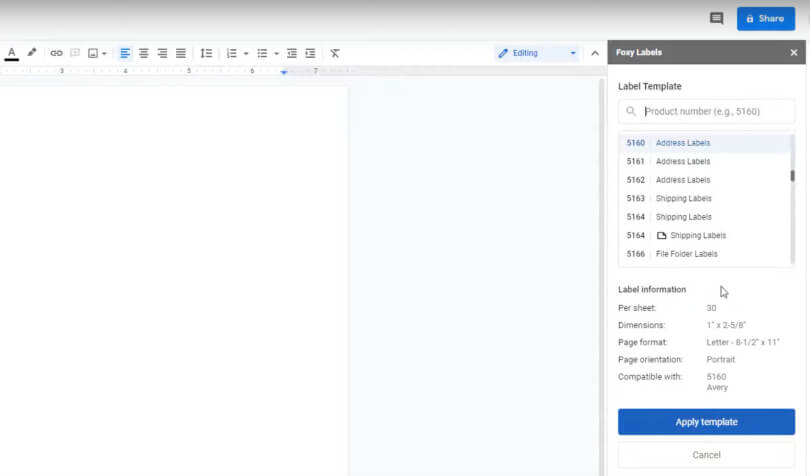
Select a Template in Foxy Labels
Step 4. Now, you can edit the first cell. If you have linked to a sheet, just tap Select a field to add merge fields. The Design labels separately option is also available to design each label in the corresponding cell. After that, press the Create labels button.
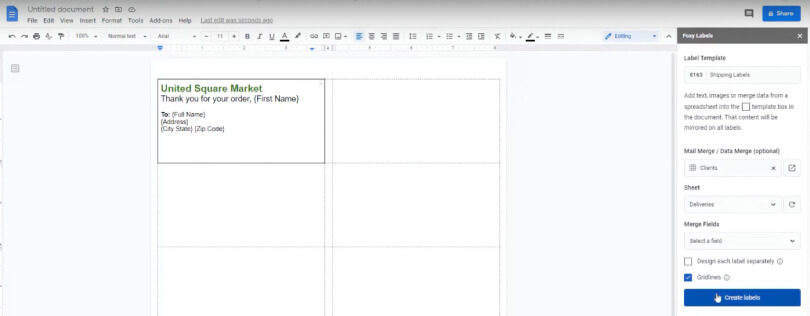
Edit and Create Labels via Foxy Labels
Step 5. In a moment, your labels will be produced. Tap Open to open and preview the final document.

Open the Generated Document
Step 6. Finally, you should click Print to print labels. Make sure to set margins to none and adapt the page size following the label format. For example, Avery® US Letter 5160 is only compatible with the size of the letter.
Image Alt: Print Labels Created through Foxy Labels
FAQs on Making Labels on Google Docs
Does Google Docs have a label template?
Google Docs does not have a built-in label template. However, you can resort to Google Docs add-ons for a wide range of templates. As mentioned above, both Labelmaker and Foxy Labels provide you with multiple label templates which are compatible with Avery®, SheetLabels®, Online Labels® and Herma®. Plus, they can also help you to design your personalized labels.
How do I Create labels in Google?
Apart from creating mailing labels in Google Docs using built-in tables or add-ons, you can also create labels while using other Google applications. For example, while using Gmail, you are allowed to create labels to sort out your emails. All you need to do is tap the More menu on the left side of your Gmail inbox and tap the Create new label option. While using Google Maps, to find a place fast, you can also create labels for certain locations. After opening Google Maps, just search for an address and choose Add a label.
How do I add labels to a table in Google Docs?
To put it simply, just head to the Insert menu to select Table after opening your Google Docs document. Then, you are allowed to type your text, add images or adjust background color to the cell of this table. This way, you can create labels. Besides, you can repeat the cell or add more rows to design additional labels.
Where is the label maker in Google Docs?
There is no dedicated label maker in Google Docs. If you want to create labels, it would be better to resort to the two methods we introduced. You can directly insert tables into Google Docs and customize them with plain text or images. Another method is using add-ons like Labelmaker and Foxy Labels to generate labels more easily. Just follow our guides to get the add-on option in your Google Docs.