Design Like A Pro: Creating Stunning Posters on Google Docs

Summary :
In this article, you will learn how to make a beautiful poster in Google Docs and print it out.
How To Make a Poster on Google Docs
Posters are a great way to advertise and market products, places, or any event. Posters provide an easy way out to catch as many eyeballs as you want. Creating stunning standout posters helps in clear communication of what you want to say to the public around you.
The public responds to your message and engages with your organization/idea in a much deeper way. Google Docs is the go-to platform for many people to draft important writeups. In this piece, we will also discuss the process of creating posters on Google Docs.
How to Make a Poster on Google Docs
Google Docs is your regular day-to-day cloud-based software program that works almost the same as MS Word that you may have been using for a long. It is very popular among marketers, content writers, ad writers, and copywriters.
If you are professionally engaged in writing you will know about it firsthand. Here is a step-by-step breakdown of the process of making a poster on Google Docs:
Step 1: Access Google Docs. Click on “Blank” to start a new document.
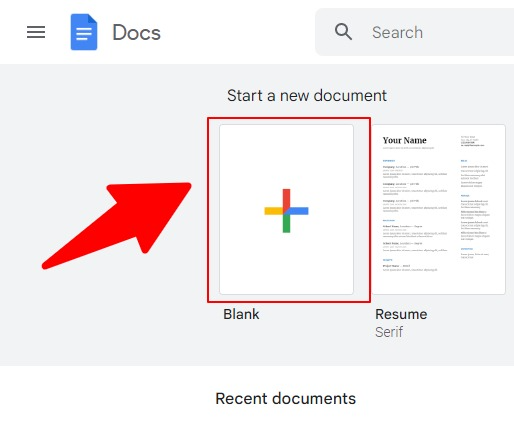
Start a new blank document
Step 2: Now, go to the menu “Insert”. Then click on Drawing, and then “New”
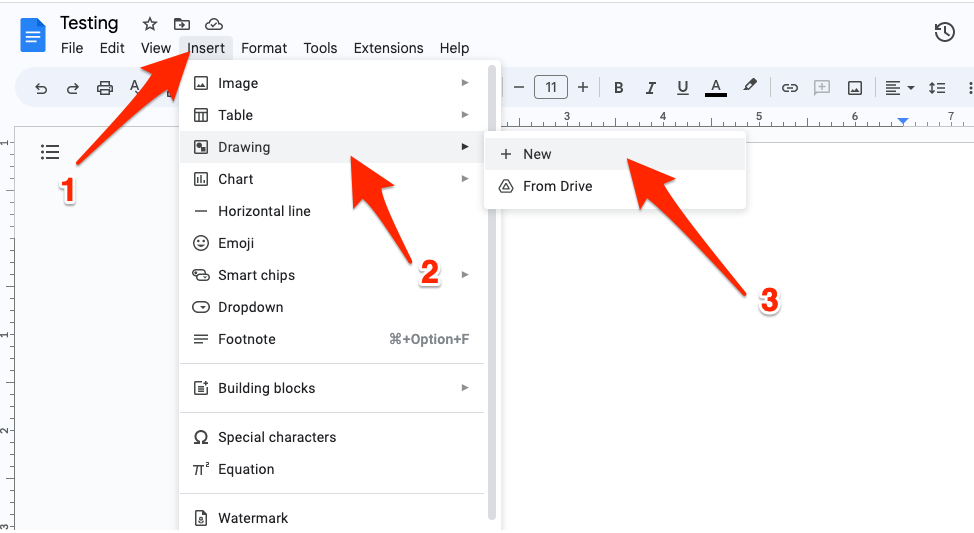
Insert drawing in Google docs
You will see a drawing area like this. There you can see a set of tools that will help you to make drawing in the drawing area I have shown in the screenshot below:
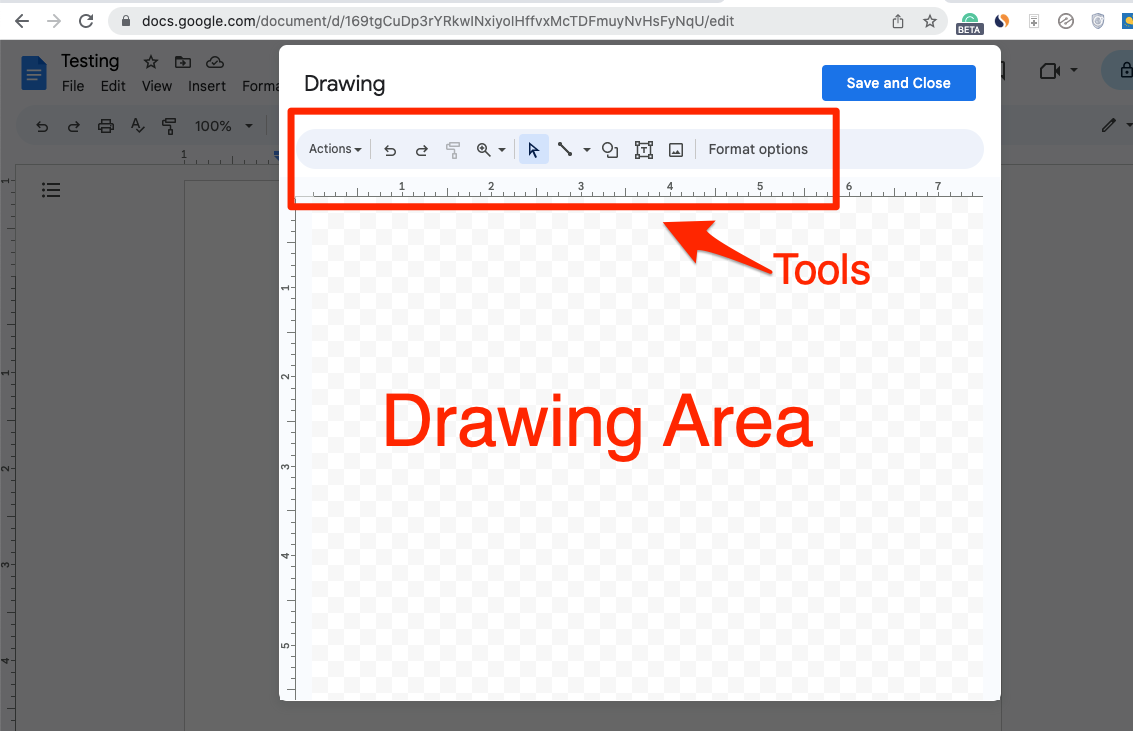
Google Docs drawing area
If you are a first-timer, let me help you explain the function of each tool one by one.

Google Docs drawing tools
- Icon 1: At the extreme left, you have the actions option that performs functions like metering the space. provides specialized functions like Word Art.
- Icon 2: Then comes the undo icon that reverses the action performed in the drawing UI.
- Icon 3: Then comes the redo icon that reverses the undone action done by undo in the drawing UI.
- Icon 4: The paint option comes next. You can use colors in self-made art.
- Icon 5: Then comes the cursor icon. The Cursor icon when clicked, allows you to access the formatting options.
- Icon 6: Then comes the ‘arrow key’ which enables you to draw and form various types of arrows, small, big, and slim, and also you can size them from slim to big.
- Icon 7: Then comes the ‘shapes key’ that you can use to form varieties of shapes on your Drawing UI. It includes rectangles, polygons, message icons, etc.
Icon 8: Then comes the ‘Textbox icon’. This enables you to write words.
- Icon 9: Then comes the ‘image icon’. That enables you to insert images on your drawing UI.
Step 3: Now, let’s draw a Rectange. For this, go to the Shapes icon >> Shapes >> Rectangle.
You may choose any design depending on your requirements.

Insert shapes
Step 4: Now, draw a rectangle, choose a color to fill it, and also you can select different outline colors.

Fill color in the drawing in Google Docs
Step 5: You can make use of tools to customize as you wish such as I filled the color, and outlined with different colors, and also, made the outline thicker by using the tools. Now, write a text using the text option.

Inserting text in the drawing
Step 6: After writing the text, when you click the marked option, you will see the text options to format your text. For the text content, you should also try special text fonts like cursive Google fonts.
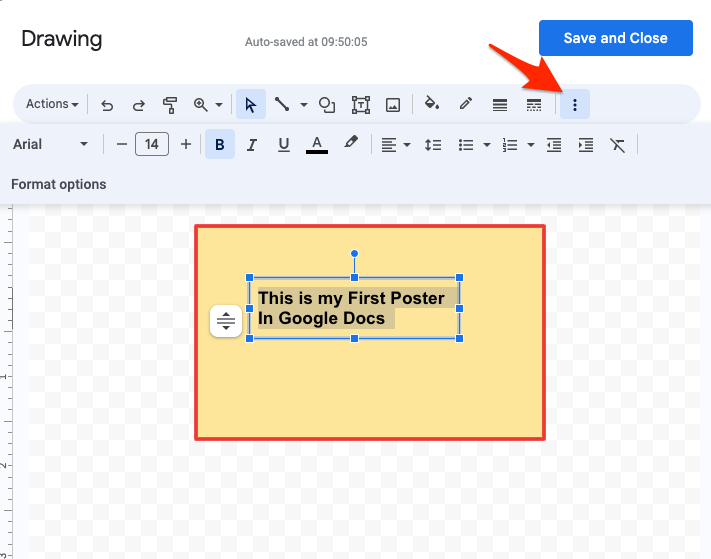
Formatting the Text
Now, our basic poster in Google Docs is ready. However, you can customize it more using the tools as you wish.
Step 7: Now, you have to click the option “Save and close”.
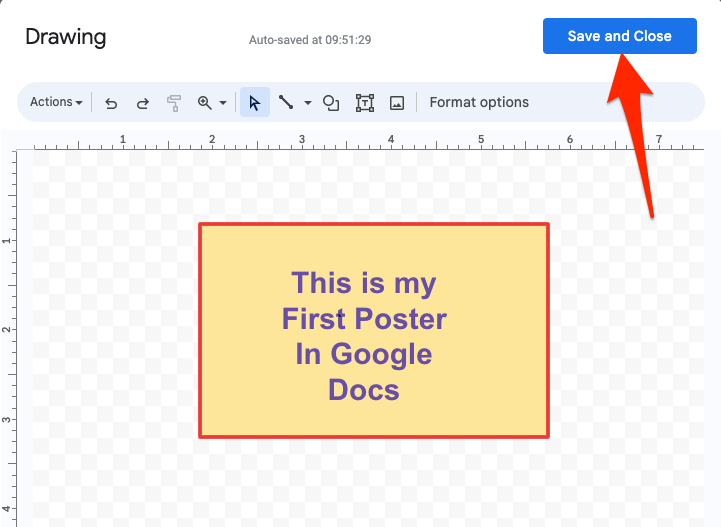
Saving the drawing in Google Docs
This will import the poster drawing into the document.
How To Print A Poster In Google Docs
Printing a poster will require all the steps that we have done for making the poster because before printing you have to make a poster first. Considering, we have created the poster and imported that into Google Docs, let’s follow the steps to print that poster.
Select printer
Step 1: Since we do not want to print the full page of the Google Doc but our poster. So, first of all, we will go to File >> Page Setup.
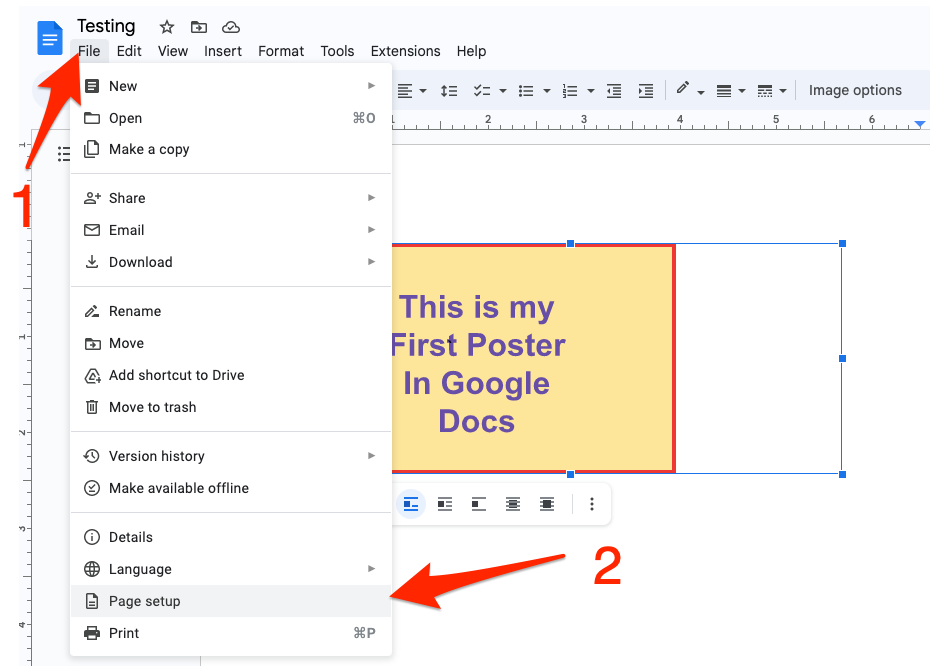
Google Docs page setup
Step 2: In the page setup, from the drop-down, select “Selected Content”, and fix any margins and all you need. Then click OK.
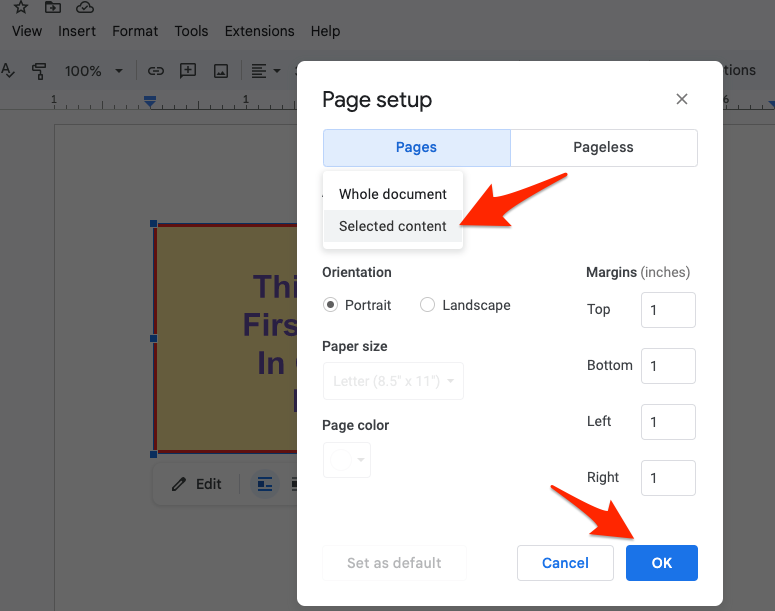
Page setup options
Step 3: Go to File >> Print
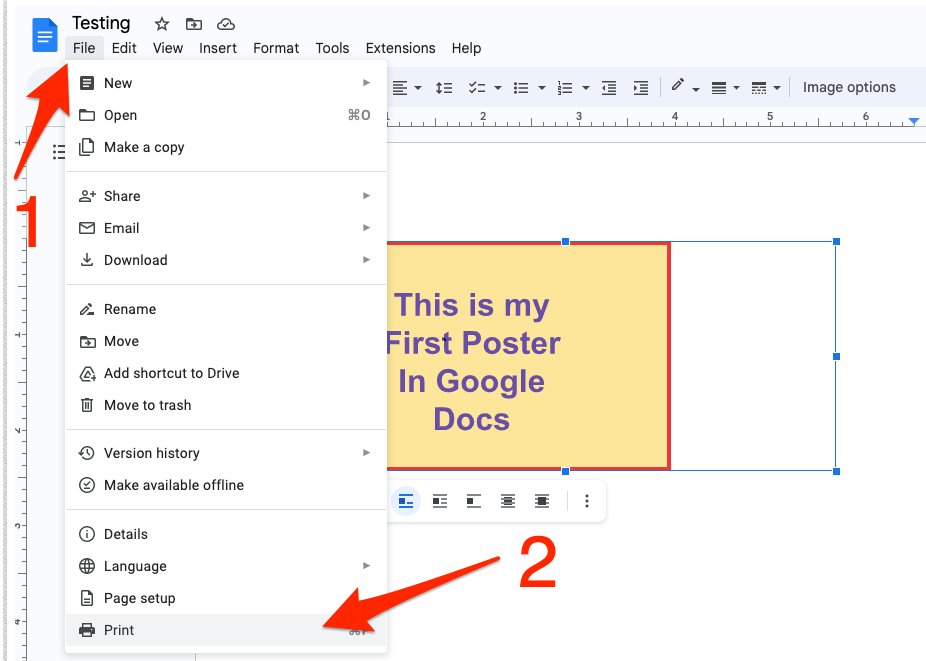
Google Docs print option
Step 4: You will see the print window. There you can check everything, and then click “Print using system Dialogue”
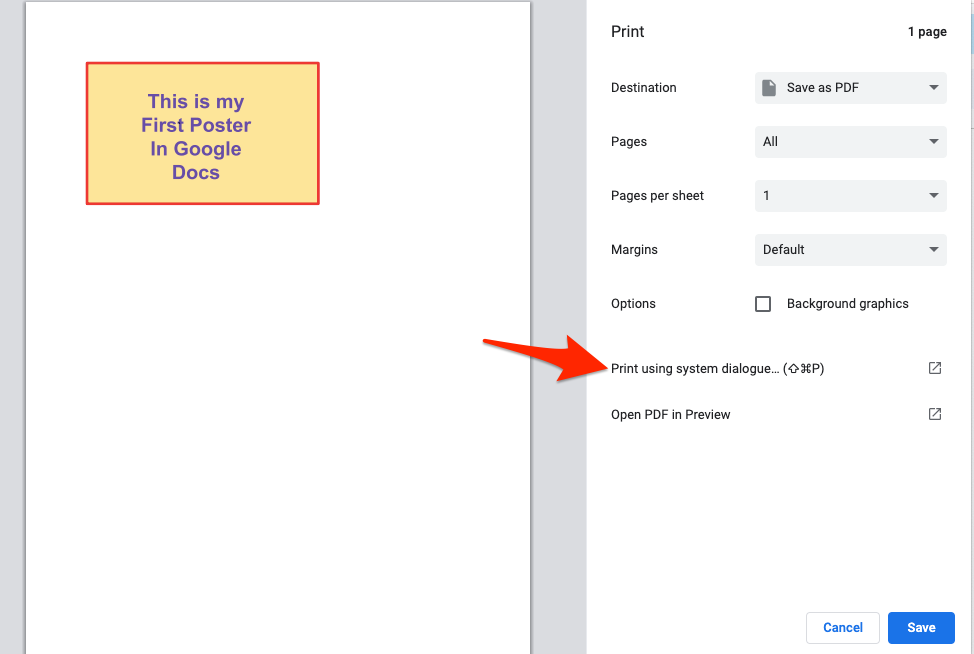
Google Docs print formatting options
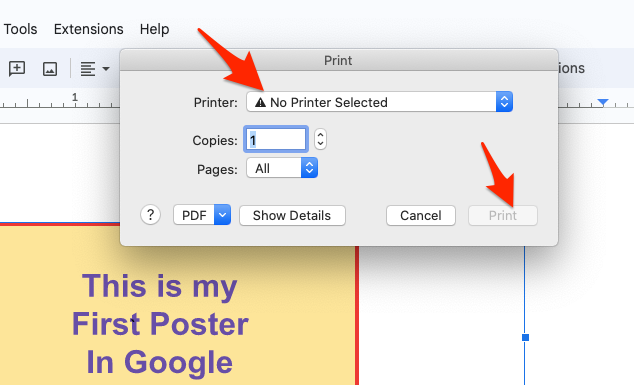
Step 5: You will see a pop-up. Now, you have to select the printer you have attached and click on Print. Now, that poster will be printed on paper.
I haven’t added a printer to my laptop. Thus it is showing no printer selected. If you have one attached, it will show the name of that printer.
How To Print A Poster In Google DocsHow To Make A Poster On Word
MS Word is a powerful Word Processor on your computer, and it can do various types of jobs including making a poster. Let’s find out, how to make a poster on Word.
Step 1: Launch MS Word. It will open up with options to create documents. Click Blank to start a new blank document.
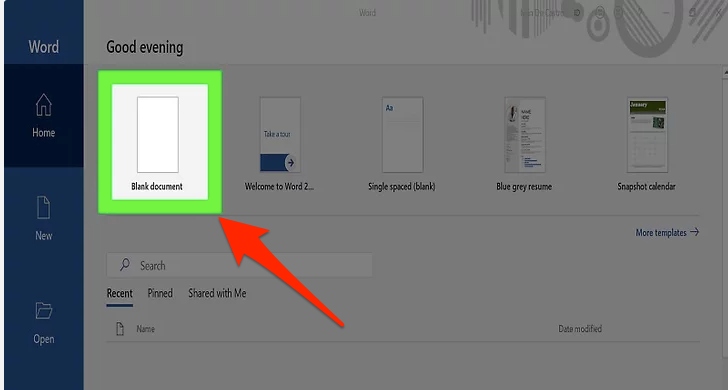
Start a new blank document on Word
Step 3: Go to Page Layout, >> Size, and select the size of your poster
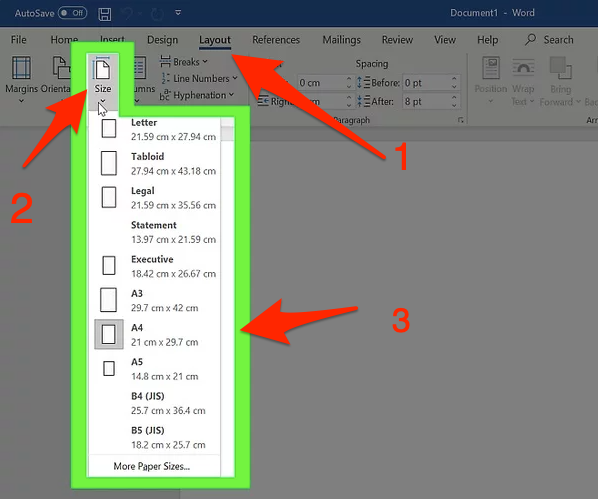
Select the size for the poster
Step 4: Now, use the Insert menu to insert text boxes, and shapes to design a poster.

Insert options in MS Word
And, now, you will have to use your creative way to insert various elements and arrange them properly to design a good poster.
Sample banner
This is the way you can easily make a poster in MS Word. Moreover, there are so many options in MS Word you can use to customize your poster-making to a great extent. And as an advanced tip, making a label in Google Docs makes certain information more organized.
How To Make a Poster on Google Docs: FAQs
How do you make a poster size on Google Docs?
You can make a poster through the insert option on google docs. Then you have to access Drawing and then click on ‘New’. Use Format options as per your need, make your poster, and then download the poster after opening Actions Options.
How do I print a large poster on Google Docs?
Printing a large poster on Google Docs is easy. First, save the poster as PDF, and then open that PDF in Adobe Reader. Now, go to the Print option, and there you will see an option “Poster”. Just go ahead, and your poster will be printed well.
Is Google Docs good for making posters?
To be honest, making poster professionally is good in some Graphic design software such as Photoshop, Illustrator, CorelDraw, Canva, and Figma is better but, you can get basic or a bit more professional posters in Google Docs as well. It will depend on how well you use the available tools in Google Docs to make a great poster.
How do I print posters of multiple pages on Google Docs?
You have to first download the poster as a PDF file, and then open the PDF in Adobe Reader. From there, you give the print command, and on the print window, you will see a Poster option which will split the big poster into multiple pages, and will print out on multiple pages.
Conclusion
Google Docs is a great cloud-based word processor which you can use for various purposes. You can also make basic posters in it, but to be honest, if you want professional-level posters to use some design software like Photoshop or others.