Top 4 Fast Ways to Reduce PDF Size on Mac without Losing Quality

Summary :
Discover fast and efficient ways to shrink your PDF files without losing quality on macOS devices.
Table of Contents
Compared to large-size PDFs, smaller PDF files are quicker to upload, download, or share via email or the internet.
Knowing how to decrease PDF file size will also be beneficial when dealing with limited storage capacity.
Many PDF compressors are advertised to resize PDFs effectively, but most may lead to a degradation of image quality in PDF.
This post reveals 4 fast ways to make a PDF smaller on Mac, MacBook, MacBook Pro, MacBook Air, and other Mac OS X devices, without losing quality.
How to Compress PDF on Mac in Preview
As a pre-installed PDF editor on MacOS devices, Preview provides users with essential viewing and editing capabilities for PDF documents without additional software.
It supports Mac users to compress PDFs without internet constraints. However, you may not get the desired PDF size as it is not a professional PDF compressor.
Step 1. Open a PDF File with Preview
Open a PDF file you want to compress with Preview, navigate to File, and choose Export.
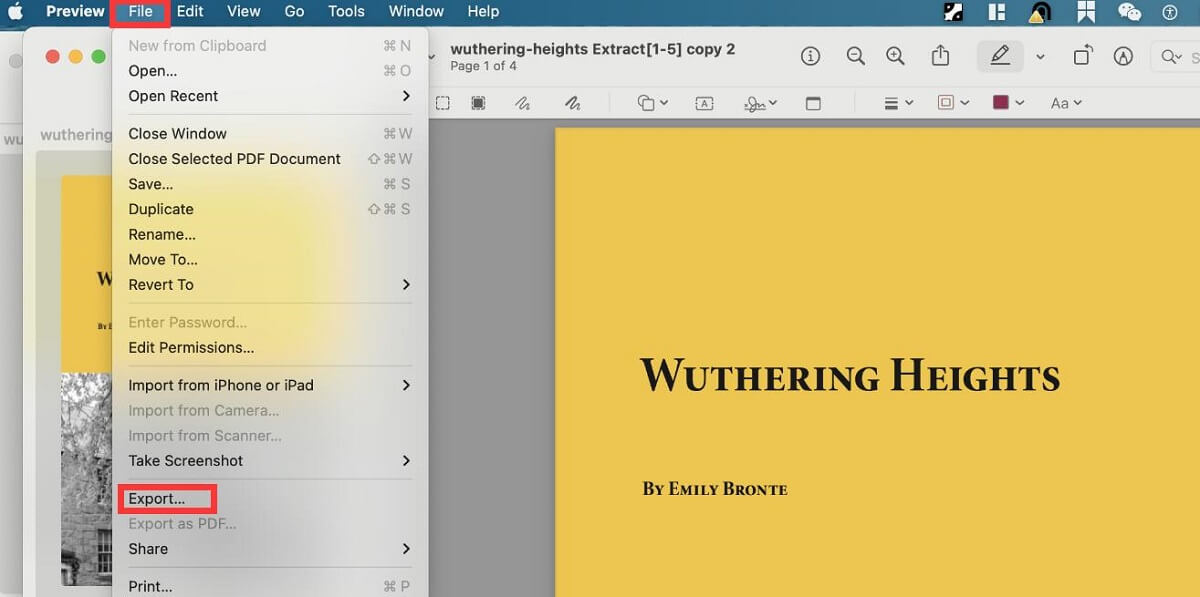
Open a PDF File with Preview
Step 2. Compress a PDF File in Preview
In the pop-up window, rename your new PDF file, select PDF in the Format dropdown menu, click Quartz Filter, select Reduce File Size, and click the Save button to save the reduced PDF.
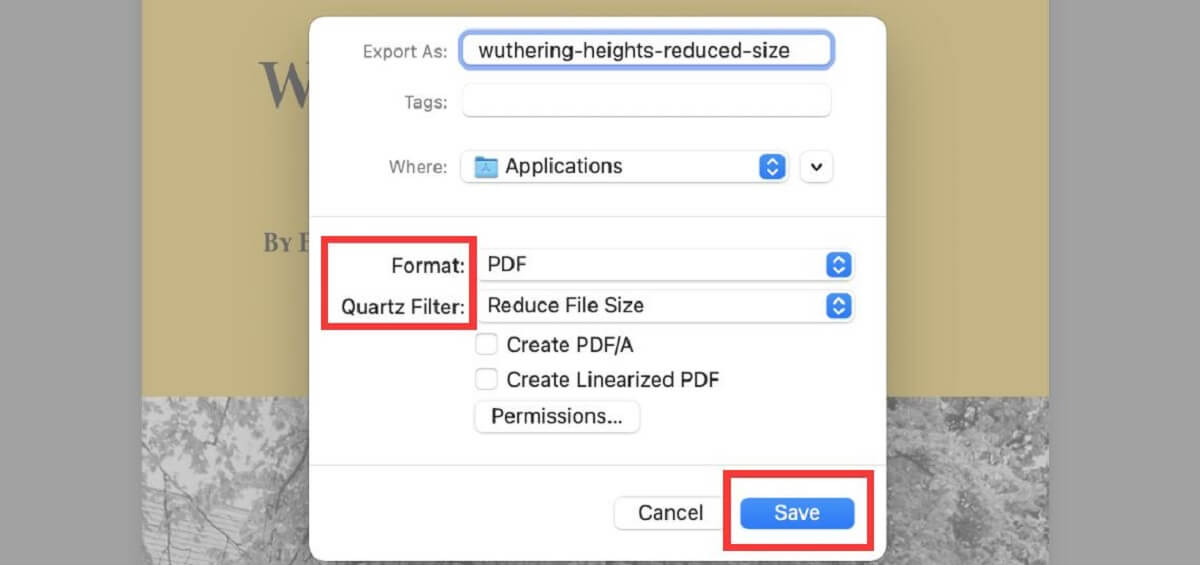
Compress a PDF in Preview
Minimize PDF File Size on Mac via Adobe Acrobat
Adobe Acrobat provides a straightforward method for macOS to reduce PDF size. Assume you have been a subscriber of Adobe Acrobat, take the step-by-step guide below to shrink PDF on macOS or Windows devices.
Step 1. Launch Adobe Acrobat on your macOS device, and open a PDF file.
Step 2. Reduce PDF Size
Navigate to the File menu, select Save as Other, and choose Reduced Size PDF.
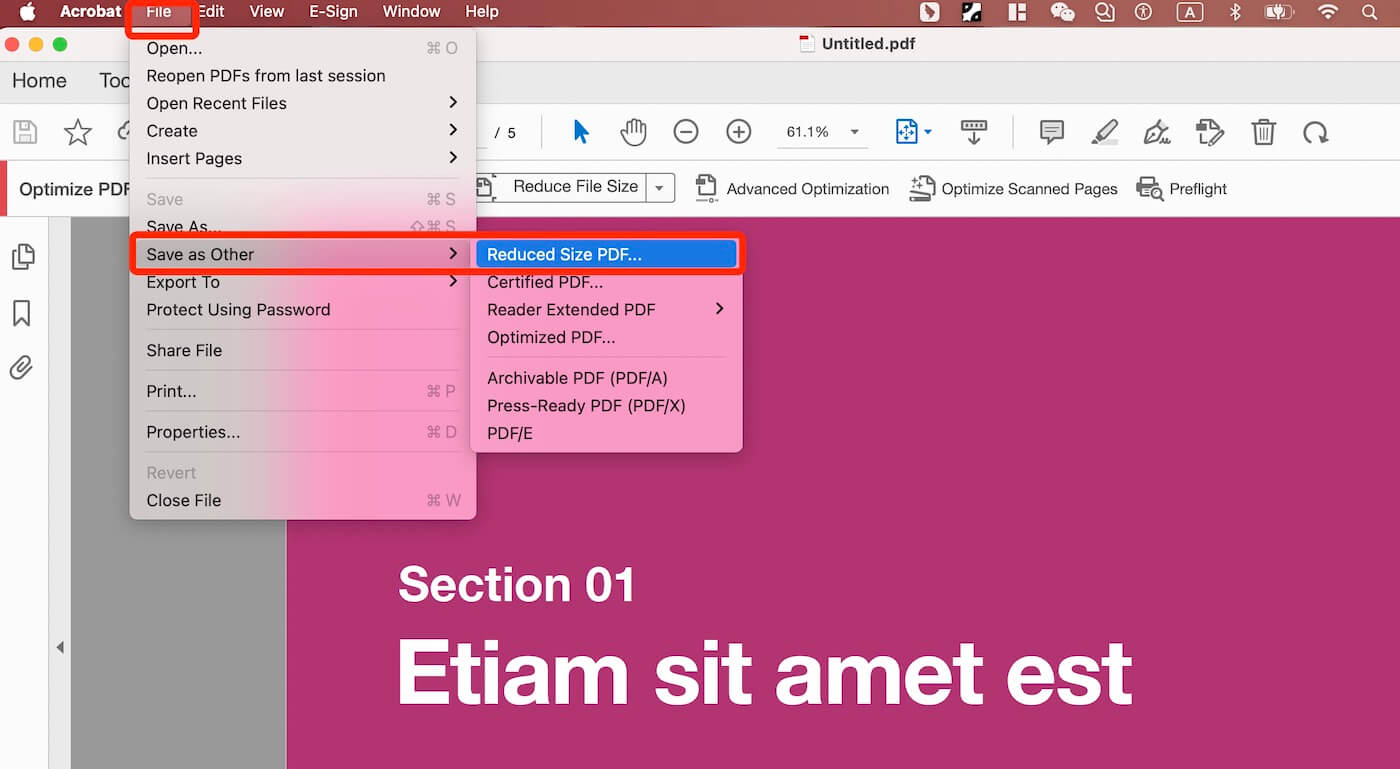
Reduced Size PDF in Adobe Acrobat
In the Reduce File Size dialog box, it is better to maintain the default Retain existing compatibility and click the OK button to continue.
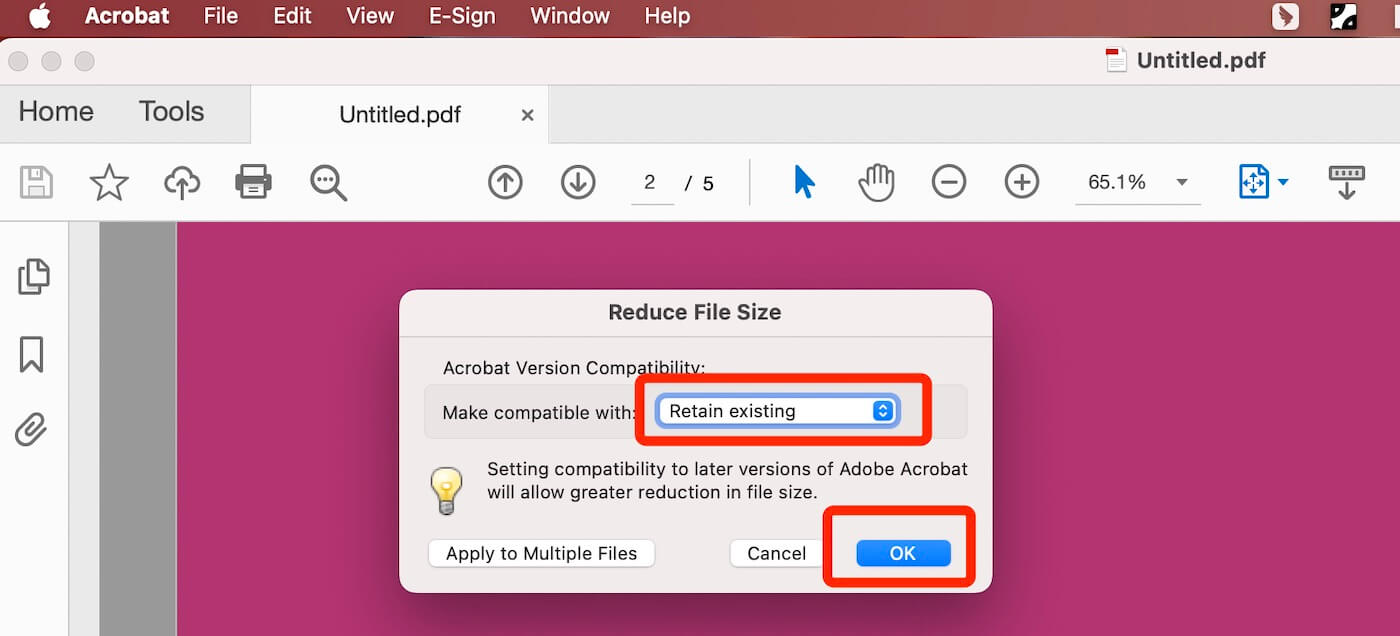
Confirm Adobe Version Compatibility
Step 3. Save the Decreased PDF
A new Save as dialog will appear. You can name the new PDF, select a desired location, and tap the Save button to save the new PDF with a smaller size.
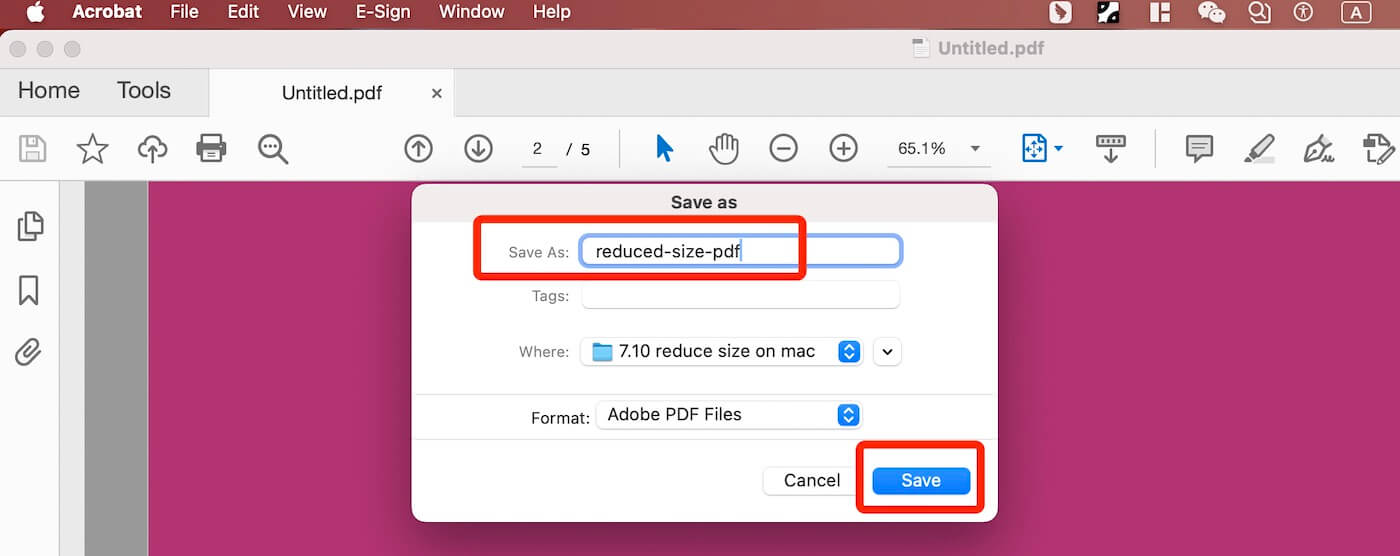
Save Reduced PDF in Adobe Acrobat
For users who are seeking a free PDF compressor, keep reading as we will introduce the best alternative to the expensive Adobe Acrobat to lower PDF file size on macOS devices.
Reduce PDF Size on Mac with Free PDF Compressor
PDFgear is a free PDF compressor for macOS devices. It supports quickly making your PDF file size smaller by up to 90% without losing quality. It can also resize your PDFs by adding pages to PDFs or deleting pages from PDFs.
Additionally, this app is completely free to download and use, no email sign-up is required. Just download the software and you can access all the advanced features.
PDFgear is the top-notch option for you to batch-compress PDF files to diverse compression levels on Windows or Mac. It’s free, safe, full-featured, and easy to use.
Step 1. Launch the Free PDF Compressor
Download PDFgear software, install the application, and launch it on your Mac. Click Open File to open a PDF document.
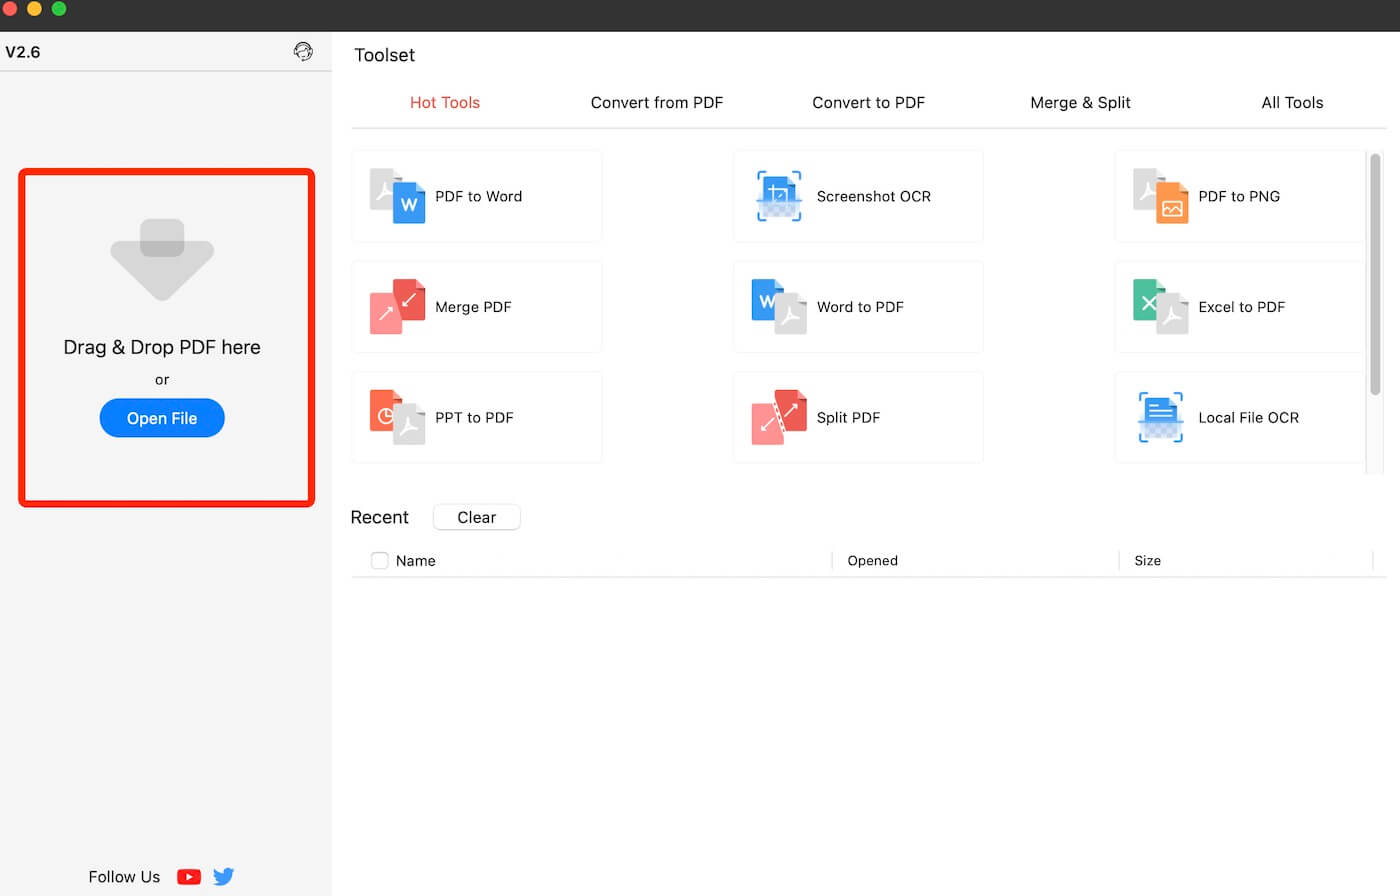
Launch PDFgear Software
Step 2. Compress One PDF or Multiple PDFs
Select the Compress tool from the main toolbar area. Click Add Files to import one or multiple PDF files, select the Compression Level(High, Medium, and Low), choose a desired output path, and click the Compress button to start the compression progress.
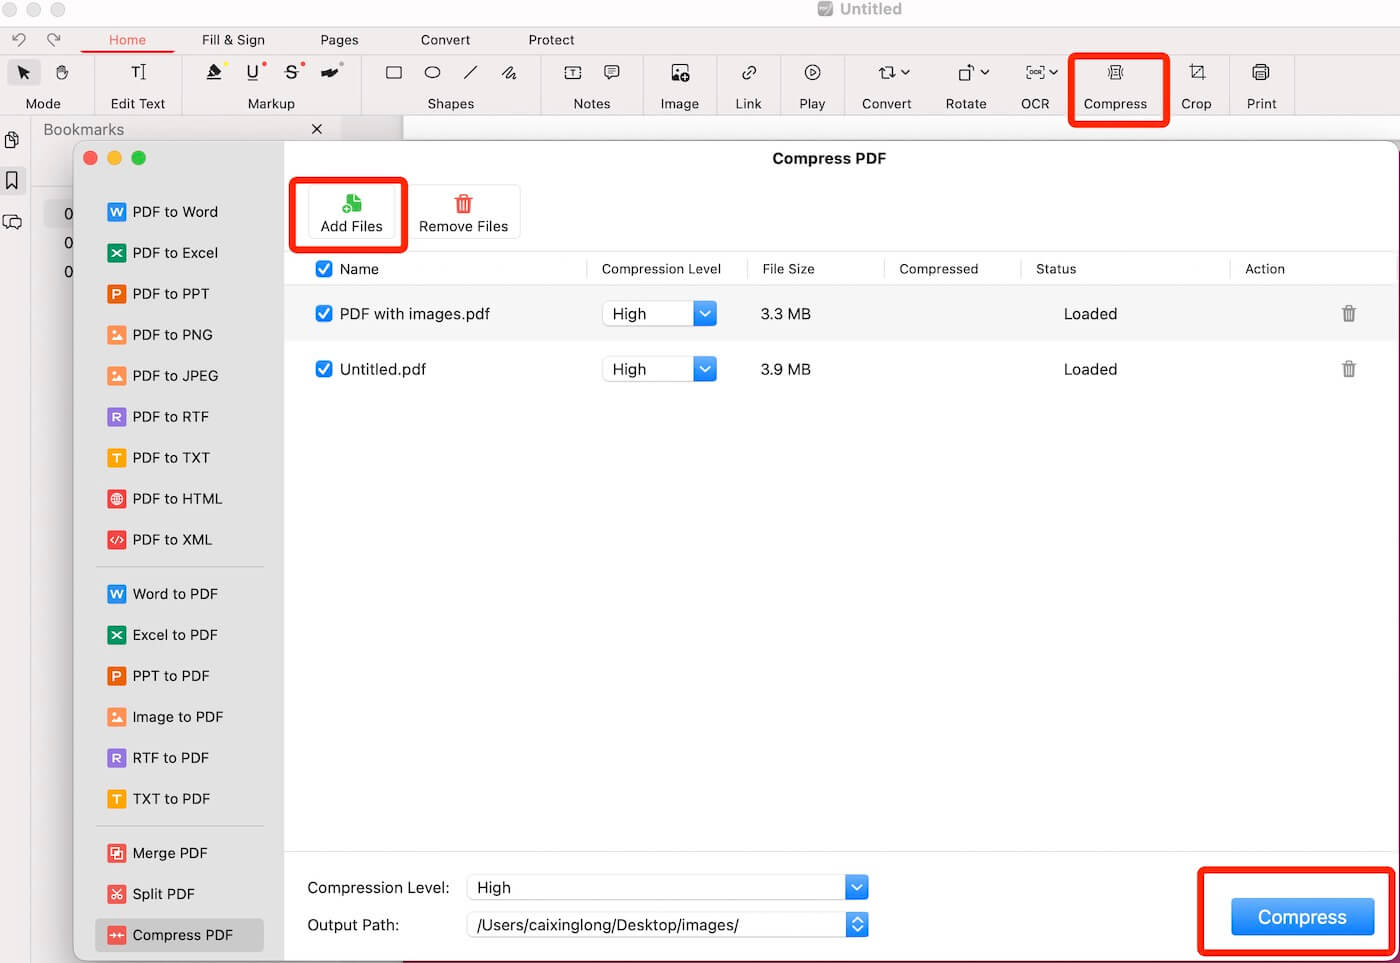
Compress PDF in PDFgear
Step 3. Locate the Reduced PDF Files
Once the compression process is finished, the new reduced PDF files will be automatically saved to your chosen output path. You can find them and check the size information.
Compress PDF File Size on Mac Online for Free
In addition to its intuitive software, PDFgear also provides swift access to its online features without any registration or limitations.
The best part is that these online tools are completely free to use, and all data will be removed once you close the website to ensure the safety of your PDFs.
Step 1. Upload a PDF File
Open PDFgear online PDF compressor on your browser, upload a PDF file you want to decrease by clicking the Upload your PDF file button or drag and drop a PDF file online.
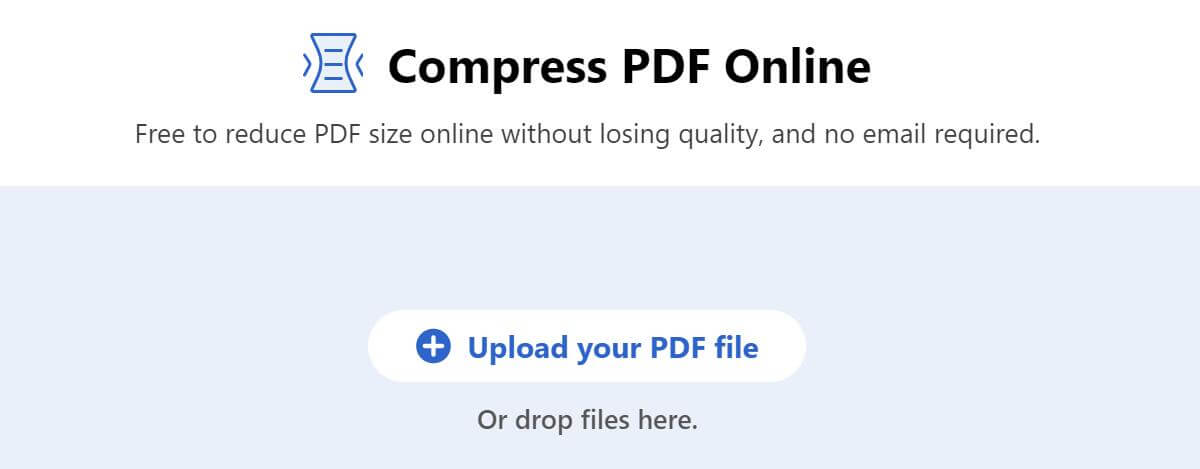
Upload a PDF File to Compress
Step 2. Compress Your PDF File Online
When the PDF is uploaded, choose your favorite compression level: Low, Medium(recommended), or Strong compression, then click Compress to start the process.

Compress PDF Online
Step 3. Download the Reduced PDF File
PDFgear will automatically compress the PDF file. Click the Download File button to save the decreased PDF once the compression is done, or share the PDF to your social media.
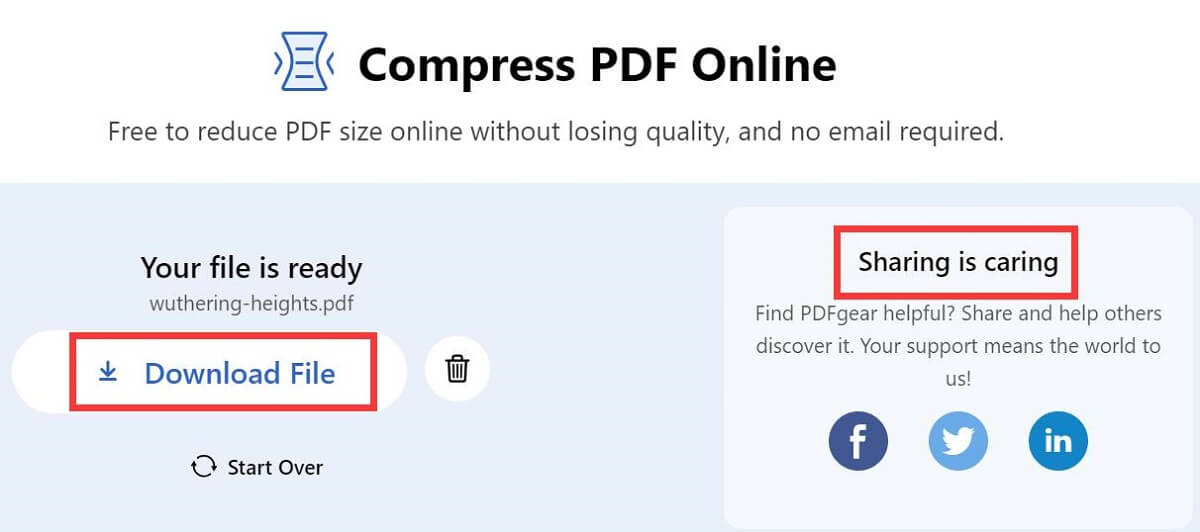
Save the Reduced PDF File
FAQs About How to Compress a PDF on Mac
How do I make a PDF file smaller on a Mac?
There are many ways you can choose from. The 4 methods mentioned above are preferred. Among them, we recommend PDFgear. It is free and easy to use. You can resize and share your PDF quickly without loss in quality.
How to resize PDFs on MacBook without losing quality?
You can utilize PDFgear for macOS. It offers the MRC technology to accurately remove the unnecessary parts of the file content, and compress the file size on your MacBook without losing quality.
Is there any free PDF compressor for Mac?
Yes. PDFgear software and its online PDF compressor are free to use, without any email registration or payment. You can utilize all the advanced features free of charge.
How to compress PDF offline using Microsoft Word?
Open a PDF with Microsoft Word, navigate to File, choose Export, create PDF/XPS Document, then select Save As PDF type, click the Minimum Size button, and hit Save.
Does reducing the PDF file size compromise its quality?
It depends on which compression level you prefer. Low Compression and Medium Compression will not impact the overall quality of the PDF file, while High Compression will compromise PDF quality as it shrink the PDF size much smaller than the original file.
Conclusion
To sum up, the detailed steps outlined above provide a clear guide on how to compress PDF files on a Mac using online and offline tools.
PDFgear is not only a free PDF compressor but also a comprehensive AI-powered PDF editor for you to handle PDF tasks effortlessly.
Whether you prefer a downloaded PDF size condenser or a free online PDF size reduction tool, PDFgear can accommodate your specific needs.