How to Convert Screenshots to a PDF for Free

Summary :
Learn how to use PDFgear, Adobe Acrobat, and inbuilt tools to convert screenshots to one or more PDFs on Windows, Mac, iPhone, or Android.
Table of Contents
Screenshots have become an essential tool for capturing and sharing information quickly. By converting screenshots to PDFs, you can streamline your document management, combine multiple images into a single file, and ensure that your content is preserved in its original quality.
There are native tools like Microsoft Print to PDF or Preview that allow you to directly save screenshots into PDF files, but they lack customization, batch processing, and advanced features like text extraction.
On the other hand, PDFgear offers faster batch conversion, user-friendly workflow, margin control, flexible layouts, text extraction, and secure handling. Read on to find out why PDFgear turned out to be the best solution.
Convert Screenshots to PDF Online with Free PDFgear
PDFgear offers both an online service and offline apps for users looking for convenient or dedicated solutions.
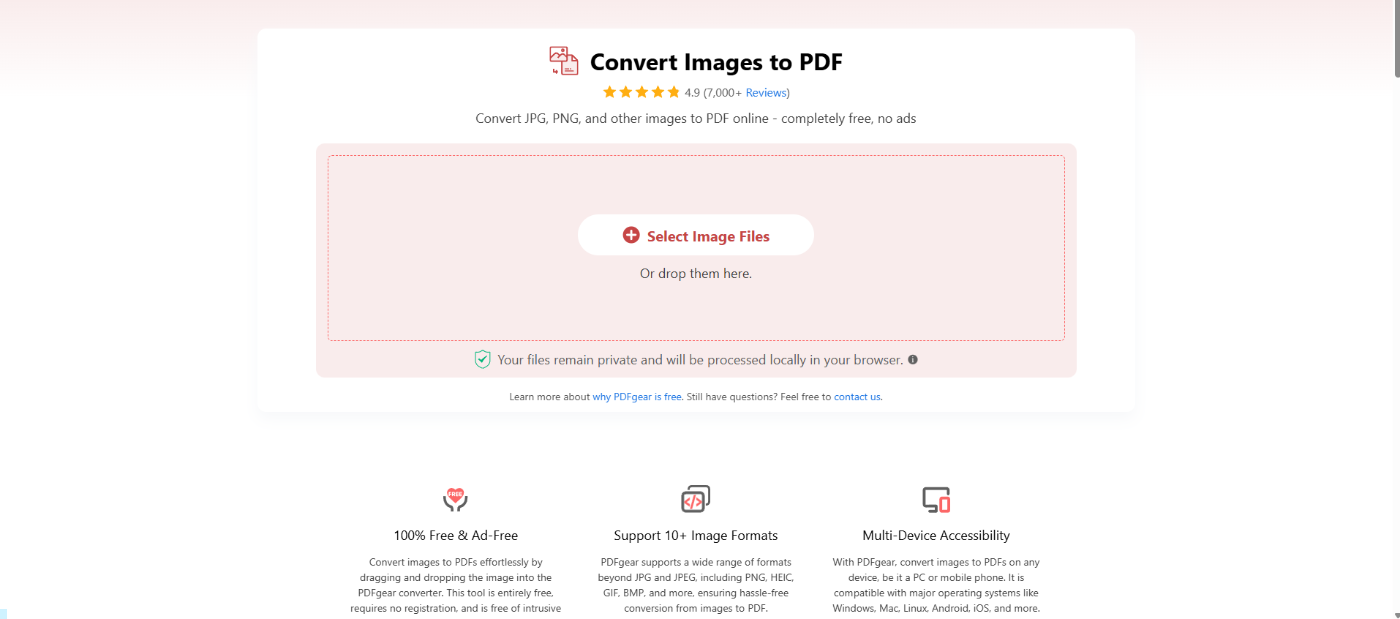
For users who prefer not to install software, PDFgear’s Online Image to PDF Converter offers a quick, private, and secure way to convert screenshots directly in your browser.
How to convert online with PDFgear:
- Open PDFgear online converter.
- Click the “Select image files” button to upload your screenshot(s).
- Drag and drop to rearrange the images, and adjust settings such as image orientation if needed.
- Click Convert.
- Click Download File to save your PDF.
Screenshots to PDF Online
Why Choose PDFgear Online Converter
- 100% Client-Side Processing for Maximum Privacy: Unlike most online converters that upload your files to a remote server, PDFgear Online processes your screenshots entirely within your browser. This means your files never leave your device, ensuring complete privacy and swift conversions.
- Accessible from Any Device: Whether you’re on Windows, Mac, iPhone, or Android, you can convert screenshots directly from your browser with no installation required.
- Easy-to-Use Interface: Designed for all users — simply drag, drop, and download. No technical knowledge or setup needed.
- Completely Free and Secure: The online tool is 100% free to use, with no hidden costs or registration.
Convert Screenshots to PDF Using PDFgear Offline App
If you often work with multiple screenshots, large files, or need advanced editing tools, the PDFgear desktop app is your all-in-one solution. It provides enhanced performance, powerful customization, and complete offline privacy — perfect for professional use.
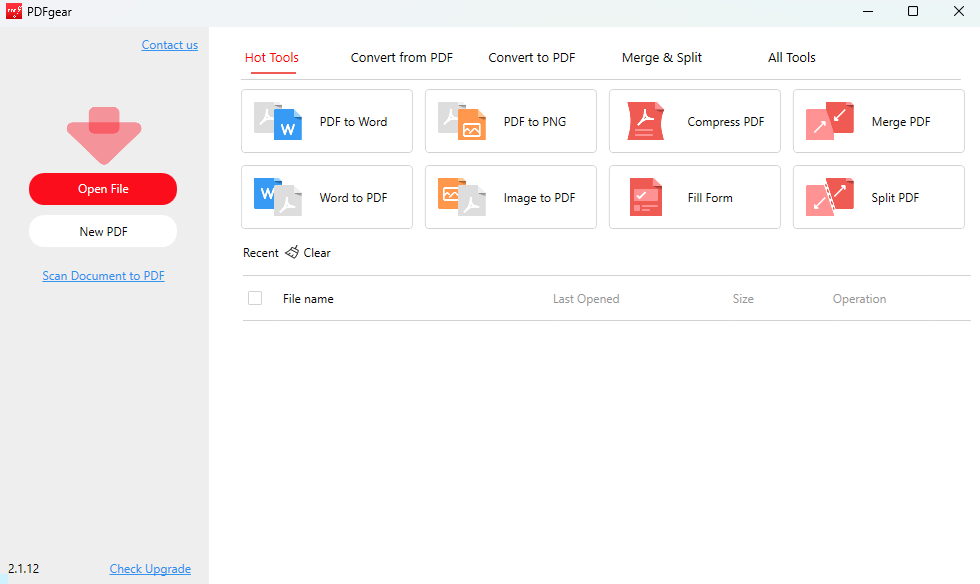
How to convert with PDFgear offline:
- Download and install PDFgear. Open PDFgear on your desktop. Click on the Image to PDF tool.
- Click the “Add Files” button to add your screenshots.
- Adjust image orientation, margins, and page size.
- Choose to output a single PDF or multiple PDFs.
- Click Convert.
Screenshots to PDF Offline
What Makes PDFgear Desktop App Better
- Full Offline Conversion — No Internet Needed: All conversions happen locally on your computer, ensuring total privacy and reliability even without a network connection.
- Stable Workflow: PDFgear offline app handles your large, high-quality, and plenty of images in a much steadier way.
- Flexible Output Control: Adjust page size, page margins, and output to one or more PDFs to get the exact output you need.
- More Converter Tools: PDFgear offline app also provides a variety of other useful converter tools to convert PDF to/from Microsoft Word, Excel, PPT, TXT, and images.
- OCR and Editing Tools: Extract text from screenshots, edit content, and annotate your PDF for professional-level results.
Convert Screenshots to PDF with Adobe Acrobat Pro
If you already use Adobe Acrobat, it does offer a way to turn screenshots into PDFs. Adobe Acrobat allows you to create a PDF from screenshots, or use the Combine Files feature to combine multiple screenshots into a PDF. However, the image to PDF conversion feature in Acrobat requires a paid subscription, which means it’s not free.
How to convert with Adobe Acrobat:
1. Open Adobe Acrobat Reader and go to File > Create > PDF from File.
2. Select your screenshot(s) and click Open.
3. The screenshots will be turned into a PDF.
4. To combine multiple images, go to Tools > Combine Files.
5. Save the finished PDF.
Limitations of Using Adobe Acrobat
-
The create PDF from images and combine images to PDF features are locked behind an Acrobat Pro subscription.
-
The app requires Adobe Cloud integration, which can impact privacy and speed.
-
Installation size and frequent updates make it resource-heavy compared to lightweight tools like PDFgear.
Acrobat Pro subscription is quite pricey. If you need pro-level and free to use image to PDF conversion features, PDFgear is an excellent alternative.
Convert Screenshots to PDF Using Built-in Tools
Every major platform comes with built-in options to save screenshots as PDFs. They’re quick and require no downloads, but each system has its quirks and limitations — especially when handling multiple screenshots or fine-tuning layouts.
On Windows
Windows users can use the Microsoft Print to PDF feature to convert screenshots directly from the Photos app or File Explorer.
1. In File Explorer, select all screenshots you want (hold Ctrl while clicking).
2. Right-click the selection and choose Print.
3. In the Printer dropdown, select Microsoft Print to PDF.
4. Choose a layout, such as Full page photo.
5. Click Print, set a file name, and save your combined PDF.
Limitations: While simple, this method lacks layout control — images can appear misaligned or scaled inconsistently. It’s also tedious to rearrange images before printing, and large batches may slow down processing.
On Mac
Mac users can rely on Preview, Apple’s default image and PDF viewer, to convert screenshots into PDFs.
1. Select all screenshots in Finder, right-click, and choose Open With > Preview.
2. In the sidebar, drag thumbnails to reorder pages.
3. Go to File > Print, click the PDF dropdown, and select Save as PDF.
4. Save your combined PDF.
Limitations: Preview is fine for small tasks, but batch exporting can be repetitive. There’s no built-in way to adjust margins or compress files, and manually organizing pages for every conversion can be time-consuming.
On iPhone & iPad
iOS devices let you save screenshots as PDFs directly through the Print function in Photos — though the process isn’t very intuitive.
1. Open the Photos app and select your screenshot.
2. Tap the Share icon, then tap Print.
3. On the print preview, pinch out with two fingers to open the PDF preview.
4. Tap the Share icon again and choose Save to Files.
Limitations: Unfortunately, iOS doesn’t natively support combining multiple screenshots into a single PDF through Photos. You’ll need to convert and save each screenshot separately, then use the Files app or a third-party app to merge them afterward. Plus, the “pinch-out” gesture is hidden and unintuitive for new users.
On Android
Android devices include a Print to PDF feature via Google Photos or the system’s built-in print service.
1. Open your screenshot in Google Photos.
2. Tap the three-dot menu and select Print.
3. Under Select a printer, choose Save as PDF.
4. Tap the Save button and choose a location.
Limitations: Android doesn’t natively merge multiple images into one PDF. You can only convert one at a time. Moreover, different Android versions and manufacturers may change how “Print to PDF” works. Image scaling isn’t always consistent, and compression can reduce clarity.
Which Method Should You Choose, and Why PDFgear Wins
Each method we’ve explored works well for specific needs:
-
Built-in tools (Windows, Mac, iPhone, Android) are fine for one or two screenshots. They rely on print dialogs or hidden shortcuts — like the “Print → Zoom” trick on iPhone — which can be unintuitive and time-consuming for batch work.
-
Adobe Acrobat’s create PDF and combine files to PDF features are locked behind a paid subscription.
When comparing all options side by side, PDFgear clearly comes out ahead in every category that matters:
Ease of Use and Workflow
Inbuilt tools require multiple manual steps: opening each screenshot individually, managing print dialogs, or navigating buried menu options. That’s fine for quick, one-off tasks but inefficient when working with several images.
With PDFgear, you simply drag, drop, reorder, and convert multiple screenshots into a single, well-organized PDF within seconds. There are no confusing dialogs or setup steps — just a fast, visual workflow that anyone can use.
Image Quality and Layout Control
Native methods often auto-scale or compress your screenshots, leading to blurred or misaligned results. You can’t easily control margins, orientation, or paper size either.
PDFgear preserves your screenshots’ original resolution and lets you adjust margins, orientation, and page size exactly as you want — ensuring your PDFs look sharp and professionally aligned, ideal for reports, documentation, or tutorials.
Batch Conversion and OCR
Built-in converters handle only simple, single-image conversions. They can’t combine multiple screenshots efficiently or extract text from them.
PDFgear supports unlimited batch conversion and includes built-in OCR, allowing you to extract and copy text from non-searchable screenshots — perfect for chat logs, receipts, or scanned materials.
Security and Privacy
While native tools process files locally, they lack encryption or file protection options. Adobe Acrobat’s cloud integration may also introduce unnecessary upload steps.
PDFgear goes further — offering offline processing and optional password protection, so your files remain completely private and secure on your own device.
FAQs
Why do my screenshots look blurry after converting to PDF?
This often happens with inbuilt tools like Microsoft Print to PDF or macOS Preview because they automatically compress or scale images to fit a standard page size.
With PDFgear, your screenshots retain their original resolution and clarity. You can also adjust the output quality manually to balance file size and detail.
Can I combine multiple screenshots into one PDF?
Yes, but native tools have limitations: On Windows and Mac, you can select multiple images and print them to PDF, but arranging them in the correct order can be tricky. On iPhone and Android, you’ll need to convert each screenshot individually.
PDFgear eliminates these hassles — simply upload all your screenshots, drag to reorder them, and convert them into a single, well-organized PDF with one click.
Why is my PDF file size so large after conversion?
Native tools don’t offer file optimization, so they preserve images in full size, resulting in unnecessarily large PDFs.
With PDFgear, you can compress images intelligently — keeping them sharp while reducing file size. This makes sharing and storing PDFs faster and more efficient.
How can I adjust page size or margins when converting screenshots?
Most inbuilt options don’t let you choose custom page sizes or margins — your images are automatically scaled to standard A4 or Letter pages.
PDFgear gives you complete control: you can select page size (A3, A4, Letter, or custom), adjust margins, and set orientation for each page, ensuring a polished, professional layout.
Is it safe to use online converters for screenshots?
Other online converters upload your files to the cloud for processing, which can pose privacy risks — especially for sensitive screenshots.
PDFgear processes everything locally on your device, meaning your screenshots never leave your computer. It’s completely secure, private, and ad-free.
Is PDFgear free to use?
Absolutely. PDFgear is 100% free with no hidden fees, watermarks, or upload limits. You can convert, merge, annotate, and secure your PDFs without worrying about subscriptions or restrictions.
Get Started with PDFgear Today!
Both of PDFgear’s solutions are a significant improvement over built-in methods. The choice between them comes down to a trade-off between convenience and advanced features.
- For Convenience: Use PDFgear’s online tool if you need to convert an image quickly without installing any software. It is accessible from any device with a browser and is perfect for a one-off task. Moreover, thanks to the client-side processing feature, your files are not uploaded to our server, so there’s no need for privacy worries.
- For Powerful Features: Choose the PDFgear desktop software if you regularly convert screenshots, need to handle large or multiple files, or require advanced editing features. It works offline, offers superior speed, and just as free to use as the online version.